


Fab Fridays | How to Make Your Own Succulent Garden | #Succulents
July 26, 2013
Succulents are the latest and greatest craze these days and living in a San Francisco apartment without a deck or backyard I’ve had to get my fill of gardening in a new urban way… indoor gardens! Succulents are adorable and come in a wide variety of colors, shapes, sizes, and cutenesses. The other thing I love about them is that they are durable, which is important for busy people like me (I know they aren’t going to die if I forget to water them for a couple days). They grow and split off and re-roote very easily, so the few that I purchased at my local flower shop (Sloat Garden Center on 3rd Ave) have been able to produce multiple new gardens.
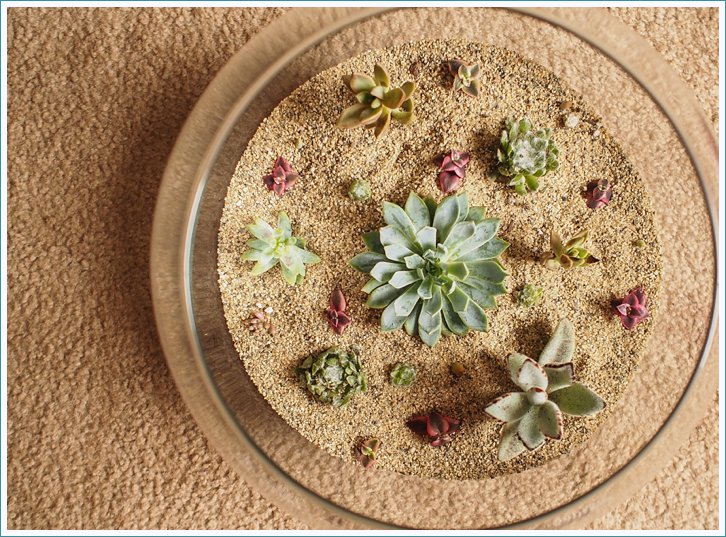
Here’s a pic of the one I made for our kitchen table!

Today I’m going to explain the steps needed to plant your very own indoor, adorable, durable succulent garden. Make one for yourself, make one for a friend, or make lots of little ones as favors for your upcoming wedding or party!
What you’ll need:
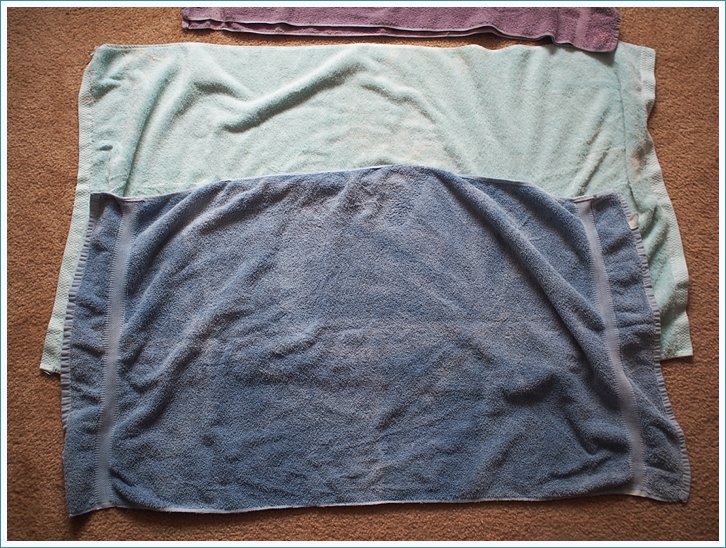
-An old sheet or a few towels
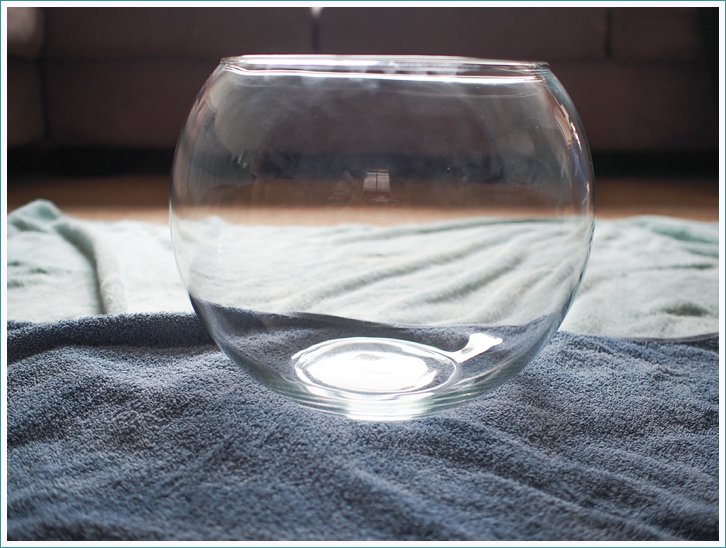
-What you want to plant your garden in… GET CREATIVE!!!
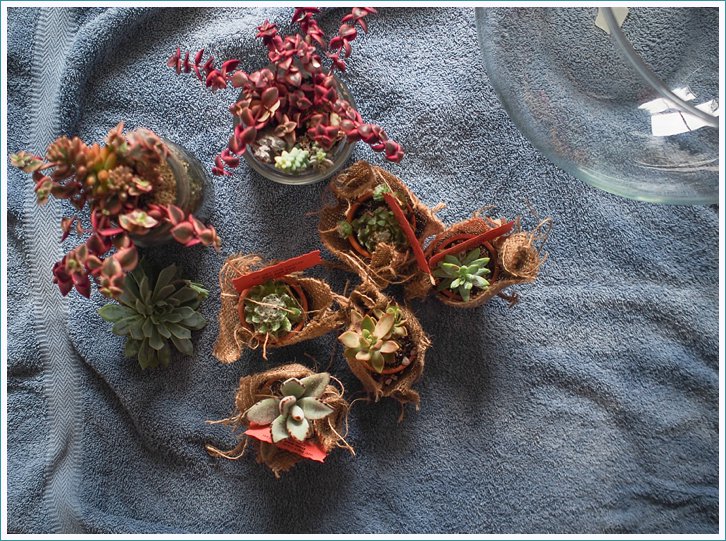
-Your succulents ![]()
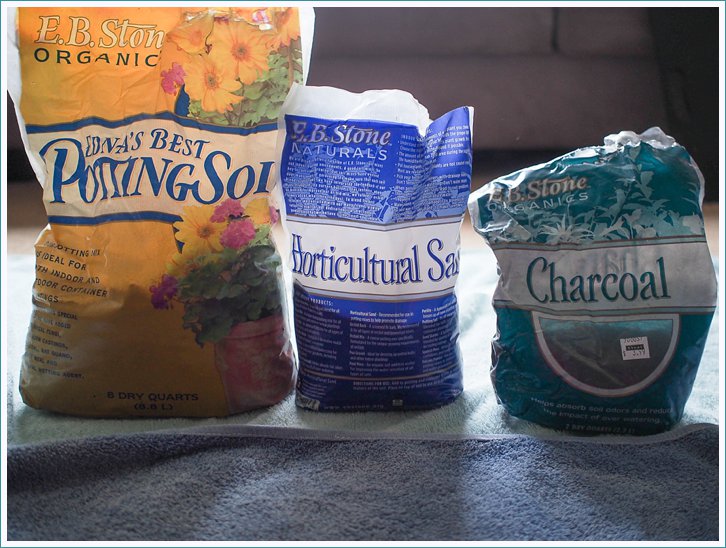
-Potting soil, I used E.B. Stone Organic but for no other reason then the garden center by my house suggested it
-Horticultural sand (do NOT use sand from the beach!), I used E.B Stone Organics again
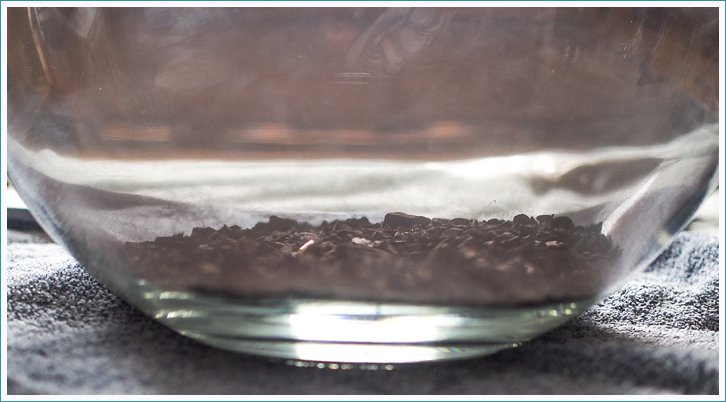
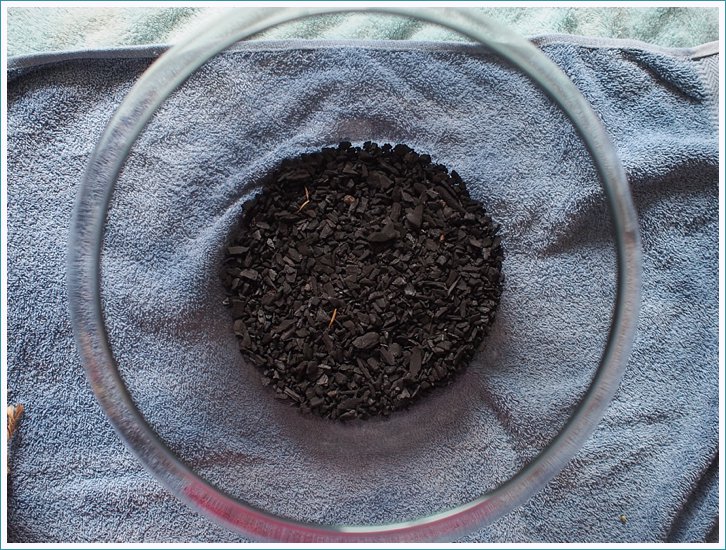
-Charcoal, when you plant things without drainage at the bottom you need to use charcoal to absorb the stagnant water that drains to the bottom of your planter/vase etc.
-About an hour to get it all done!
Step 1: Lay something down on the ground you don’t mind getting dirty (because it will) and give yourself enough room to spread out.
Step 2: Clean the vase, bowl, dish etc that you will be using for pretty project.
Step 3: Gather the succulents you plan to use in your new garden.
Step 4: Your soils… the charcoal, potting soil and horticultural sand. Remember: DO NOT use sand from the beach because it has too many micro organisms and other things that can affect your garden.
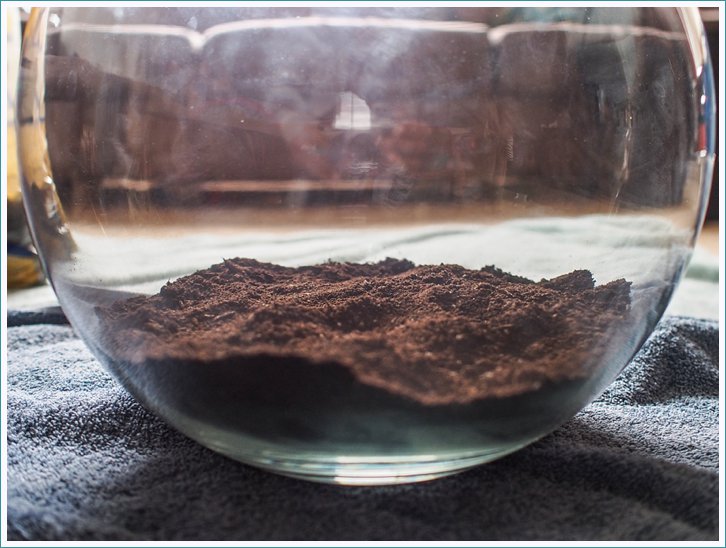
Step 5: Pour charcoal in your desired planter/vase first, enough to cover the base, about half an inch.
Step 6: This step isn’t necessary, but my mom is the flower queen and she introduced me to earth worm castings (sounds gross right?!?), but I was able to find it online and it makes an amazing natural/organic plant food so I mix it with my soil!
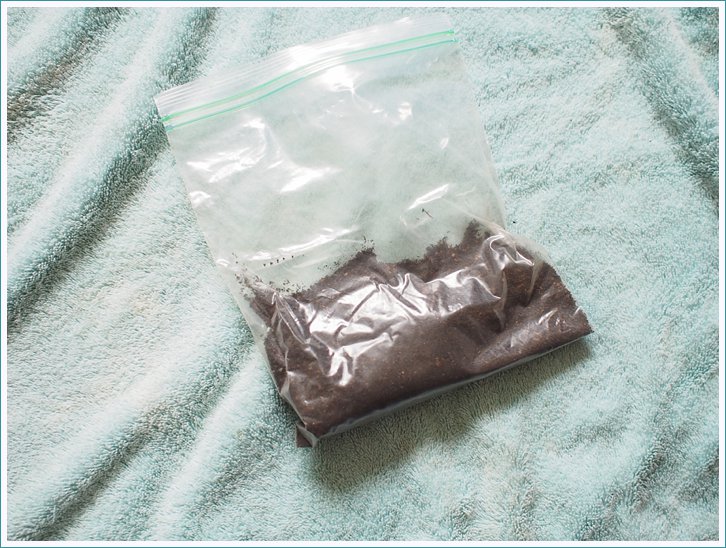
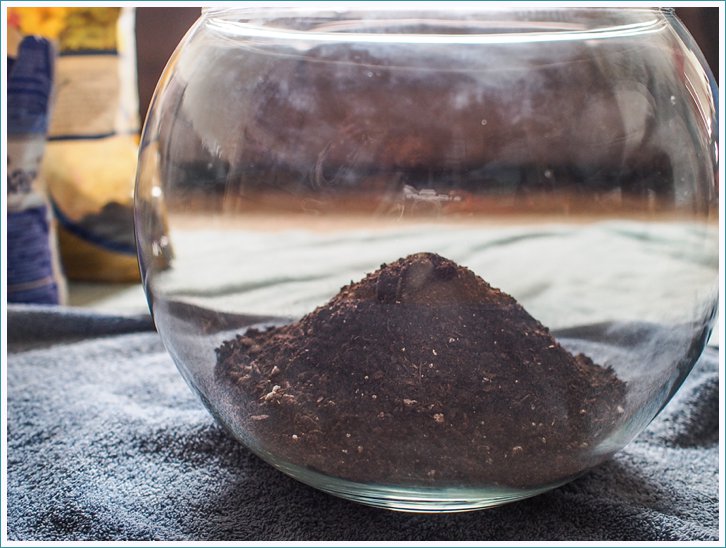
Step 7: Pour your soil (and a couple table spoons of earth worm castings if you want) on top of the charcoal. You’re shooting for layers so keep that in mind, the dirt layer can be an inch+ thick. Pat it down and smooth it out.
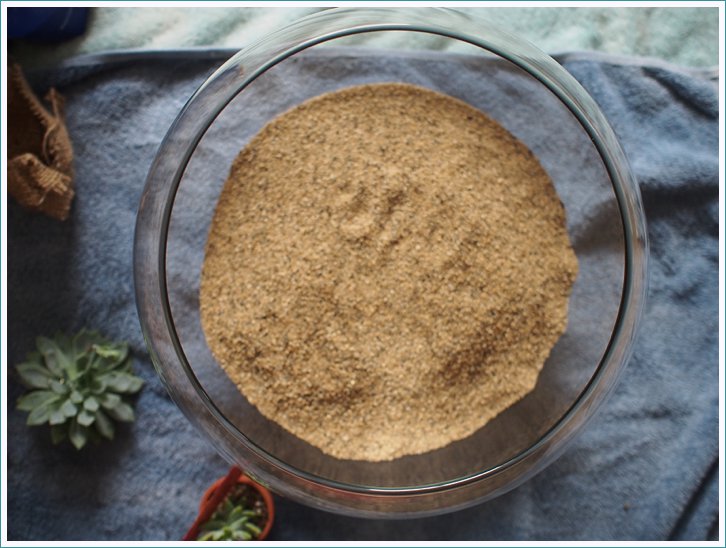
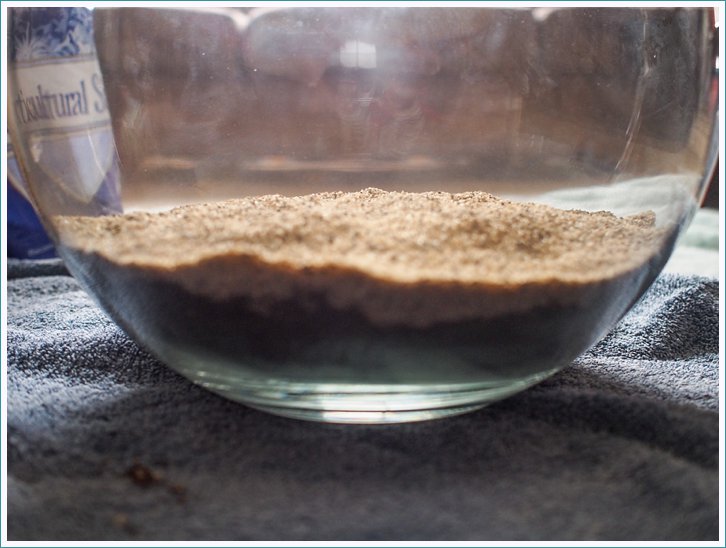
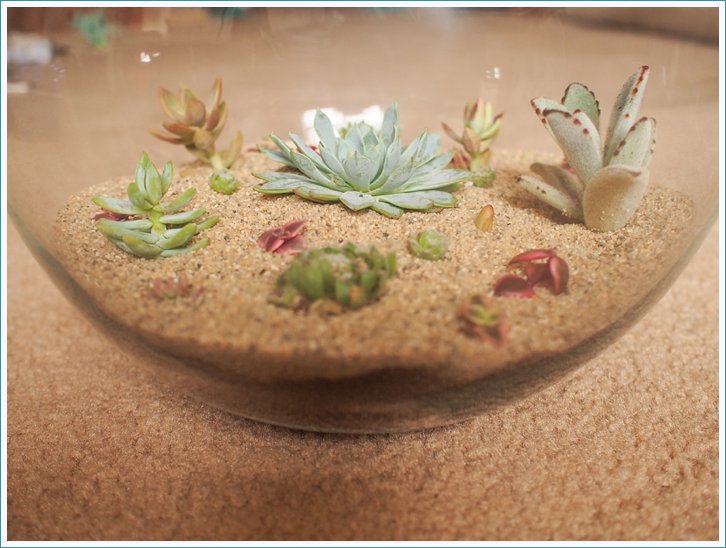
Step 8: Now it’s time for the pretty layer, the sand. Carefully pour the sand on top of the dirt (remember layers!). I suggest at least an inch of sand (I’ve gone too light on the sand before and found that the dirt creeps through). Aside from being pretty, the sand helps distribute the water and weigh down the soil so it doesn’t move around when you water it.
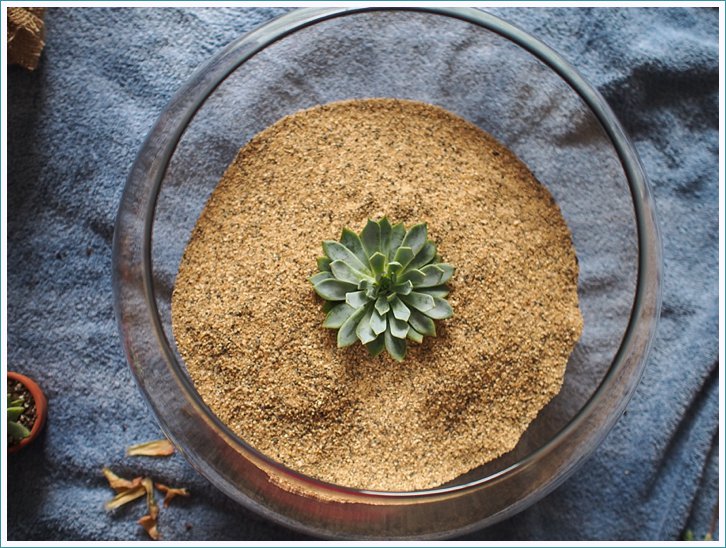
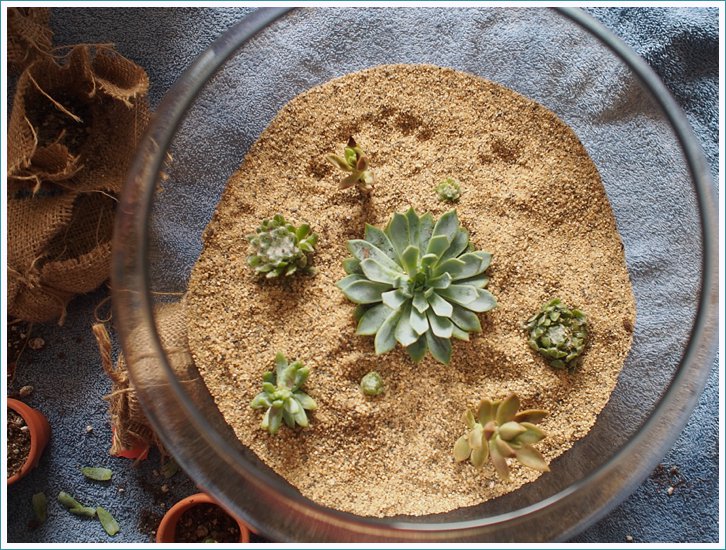
Step 9: Yay! You made it to the really fun part… planting your garden! I always like to have a centerpiece, so I chose this sturdy, round guy.
Step 10: Then you can begin placing your little biddies where you want. I like to start small and fairly spaced out because they grow fast!
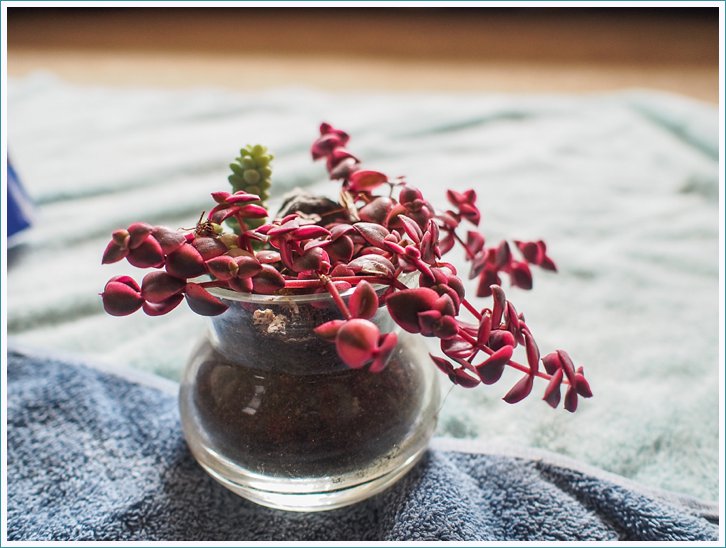
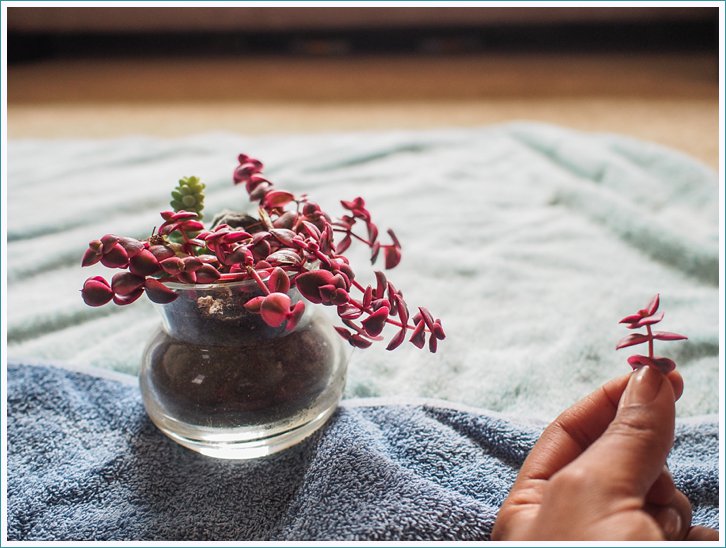
Step 11: As I mentioned earlier, I take my other succulents that have alot of growth and break pieces off and re-plant them in my new gardens… see!
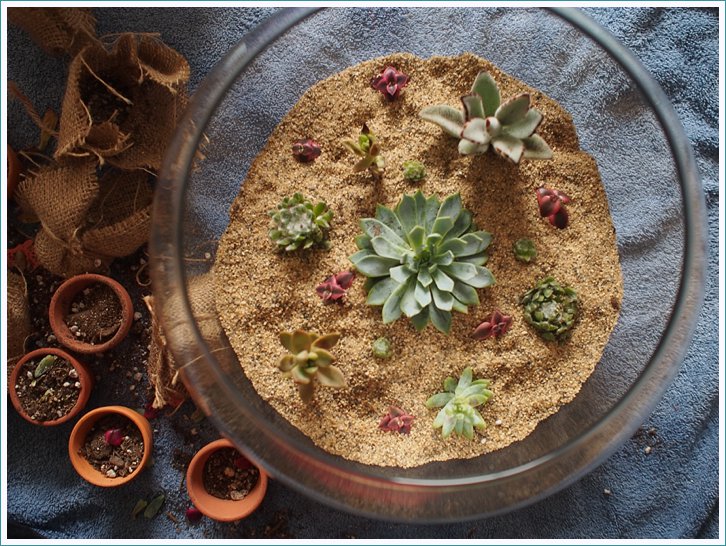
Step 12: Stand back and revel in the fruits of your labor! This was a gift for our friend Dominic as a thank you for giving me a beautiful desk for my office and he is enjoying it everyday!
Watering: I water my succulents every week and half or so, but watch and listen to them, they will tell you what they need, so pay attention!
**All these images were shot with my amazing OM-D


Hey Chloe! Nice succs! I love them, too, and for the exact same reasons you do. Didn’t know about charcoal, as I’d always been told to use Perlite for drainage, but it is bright white, which may alter your aesthetics in the bowl. Also, I like to use gravel instead of sand (wash it thoroughly, though) and various rocks to make for a more interesting surface for the plants to contrast with. I’m gonna try it your way and see what happens. Thanks.
Oh, and your photography is absolutely amazing! Congratulations.