Tag Archives: pinterest

Planning your wedding is hard work; don’t let anyone tell you otherwise. Whether it’s a small, intimate backyard gathering or a huge, elaborate celebration, there’s a lot to do. So I’ve been gathering some simple tips (stay tuned for the detailed tips) for my couples to help them survive this wild ride!
 1) ) Join a wedding community such as A Practical Wedding, Wedding Chicks, Once Wed, Off Beat Bride, I Do Venues etc. Follow the blog, take part in the conversations, reach out and ask questions. It’s important to know that there is a community of people out there that know and understand what you’re going through and have fabulous advice to share!
2) Get the right vendors for you. Do your research and make sure you are going to get what you expect and deserve. Talk to them over the phone, via skype and if you can, meet them in person to make sure your personalities click. Ask for references and read their reviews (on their website or Yelp etc). Make sure you have a contract with each and every one of them! We are all here to help you achieve the best day of your life, so make sure we are the right people for the job!
3) Talk to and lean on the vendors you already have! We are all in the wedding industry, which means we have worked with all kinds of caterers, DJ’s, planners, make-up artists, videographers, etc., and we can help pair you with someone who is just right for your big day! Use your resources to your advantage; we’re here to help.
On that note I have a vendor page on my site if your in need of awesome people: http://173.255.253.231/chloejackman.com/public/info/vendors/
4) Open an email account just for the wedding. This is a simple yet very important tip: a way to keep everything wedding-related organized. Also, it gives both you and your boo (fiancé) access to all the same information without overwhelming your daily life.
5) Make a binder!!! This is a great way to keep everything organized and in one place: from price lists to contracts to colors to contacts to samples and so on. There’s a lot of information to gather and track, so this will make the planning process way easier and less stressful. And make it fun/creative/cute… that always helps me get more into it!
6) Make a Pinterest page! Maybe you’re not into Pinterest, or maybe you don’t know what it is (If that’s the case let me know and I’ll walk you through it). But I think it’s an essential tool for gathering inspiration and ideas. Keep in mind that you can OD on it and become overwhelmed, so try to keep your focus on searching for specific things you’re in need of: hair ideas, center pieces, color schemes, nail polish designs, favors, and other details. In order to prevent ODing, most of my brides swear off it one or two months before the big day, so as not to overwhelm themselves with new ideas.
7) Most importantly make sure to take ‘non-wedding’ time out for each other. Don’t lose focus on what really matters which is the love between you and your fiancé!
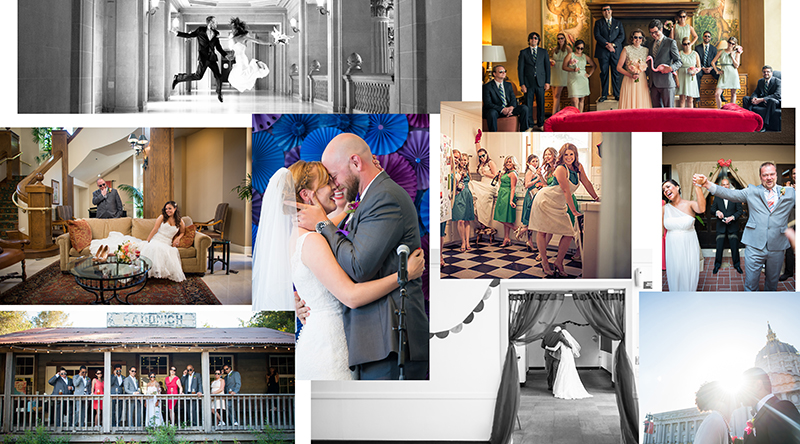
No matter what, this is going to be one of the most amazing days of your life and I hope to be there to enjoy it with you, but if I’m not please let me know how it goes!
xo,

“You’re my puzzle piece…and not the ones you jam together, I’m talking about the ones that really do fit.” -From their favorite card
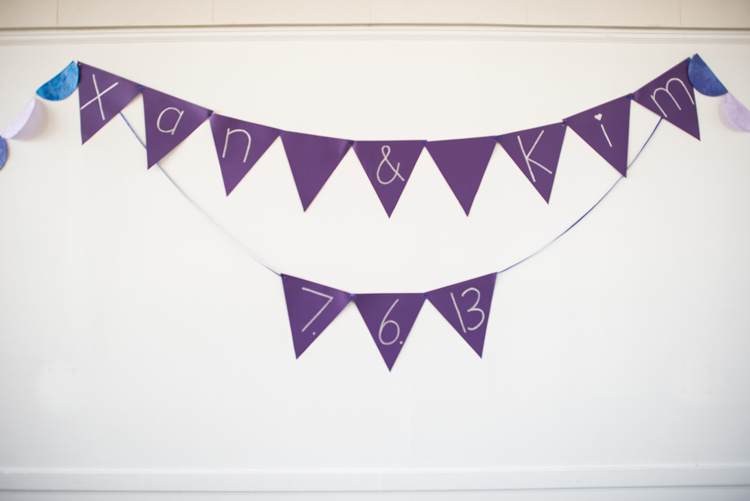
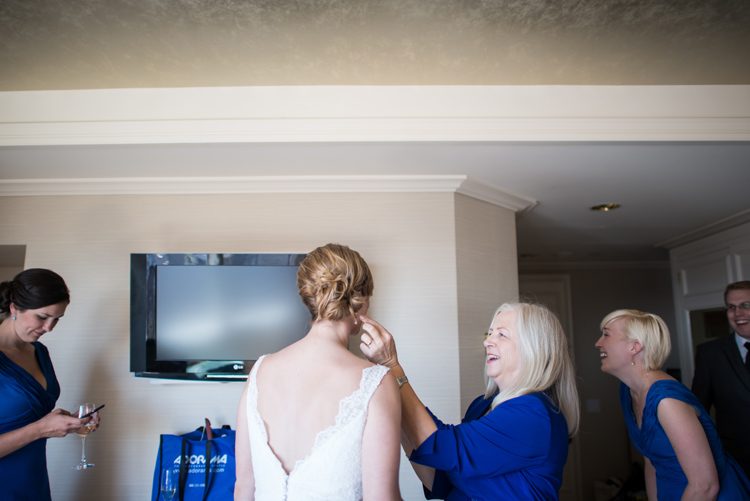
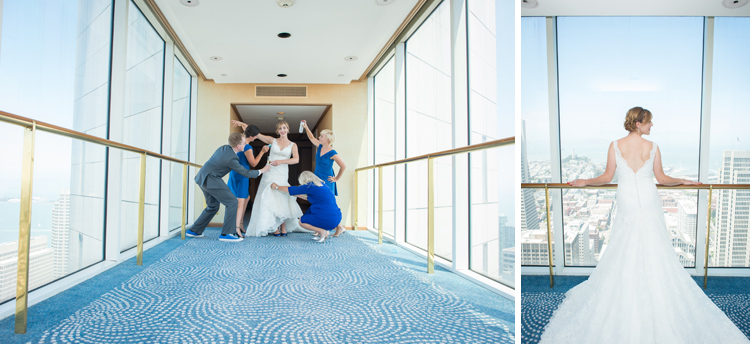
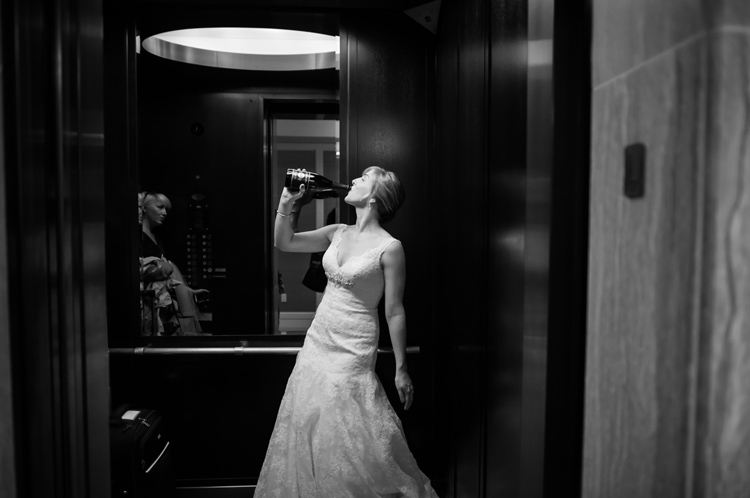
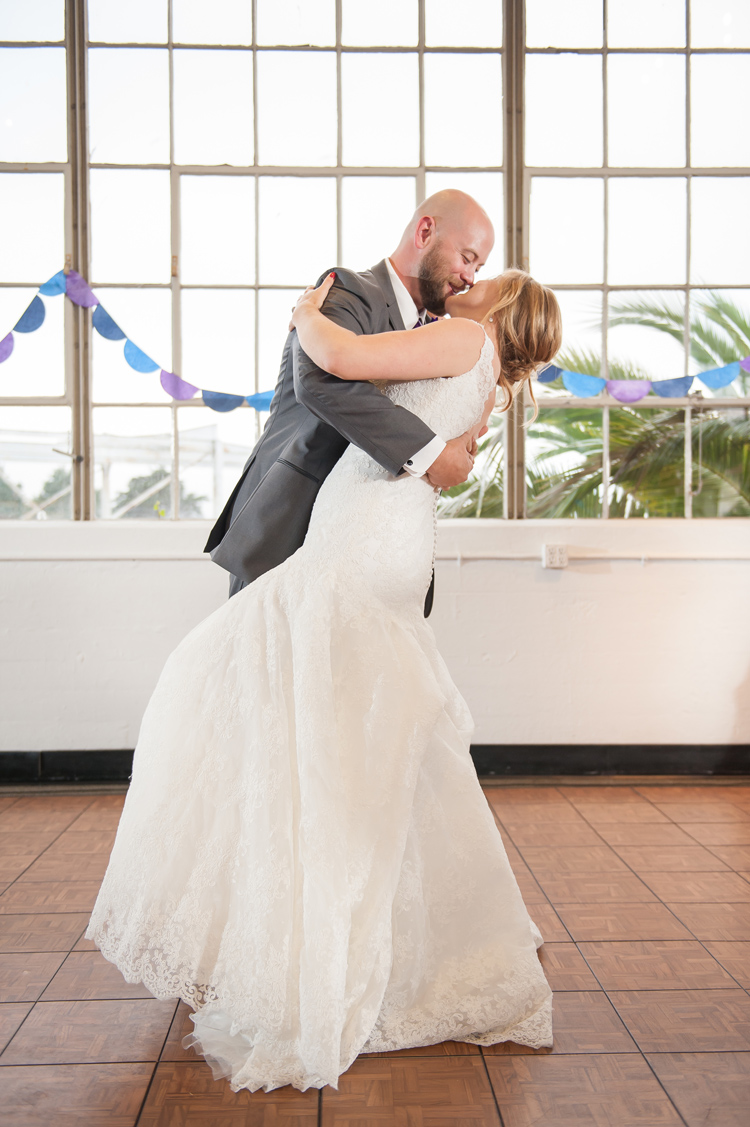
True, authentic, deep, passionate, honest, inspiring love. That’s what Xan and Kim have. It’s the kind of love that fills a room… the kind of love you can see all over them.
From the first time Kim and I spoke on the phone, to the bottle of wine the three of us had at our first meeting, to the epic engagement session we had retracing their first date (in case you missed it, here it is: http://173.255.253.231/chloejackman.com/public/kim-xan-romantic-engagement-session-dogpatch-sf/), to the months we spent planning the wedding (mostly them, me just here to help!), to the evening I spent at their new apartment drinking more wine and putting the final touches on their big day, I have been in awe of them and their deep, unwavering, whole-hearted, fearless love for each other. They truly are the perfect puzzle pieces made for one another, and I’m pretty sure that this has been the case for them in every previous life and every one they’ll have after this magical one.
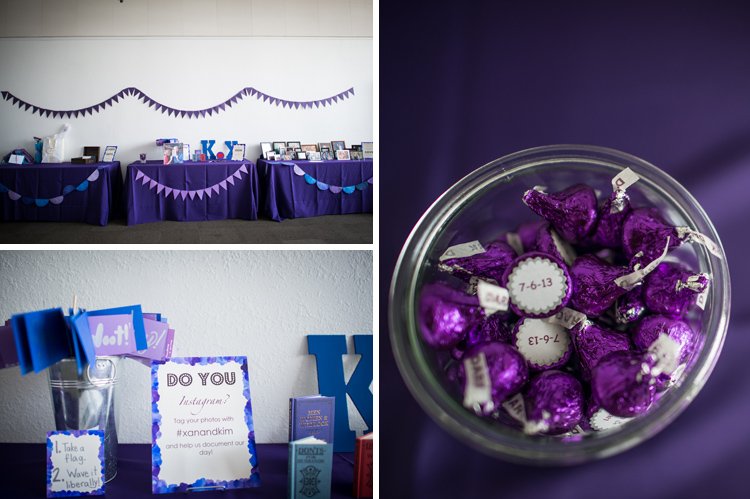
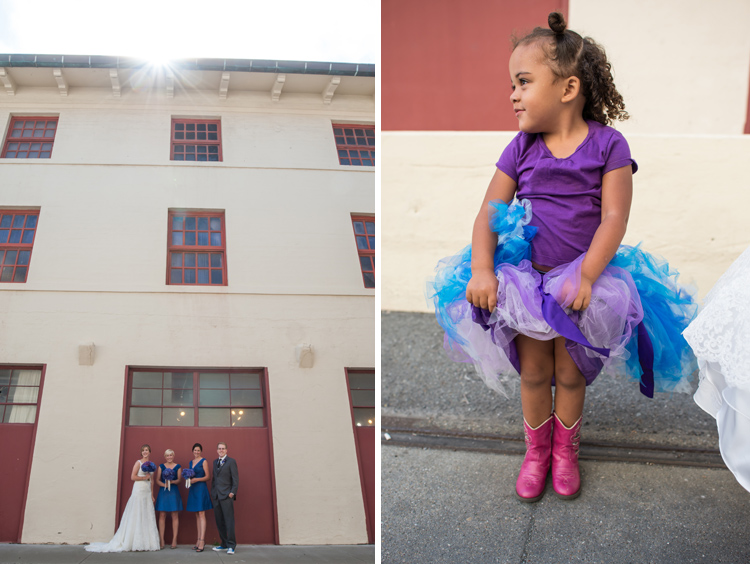
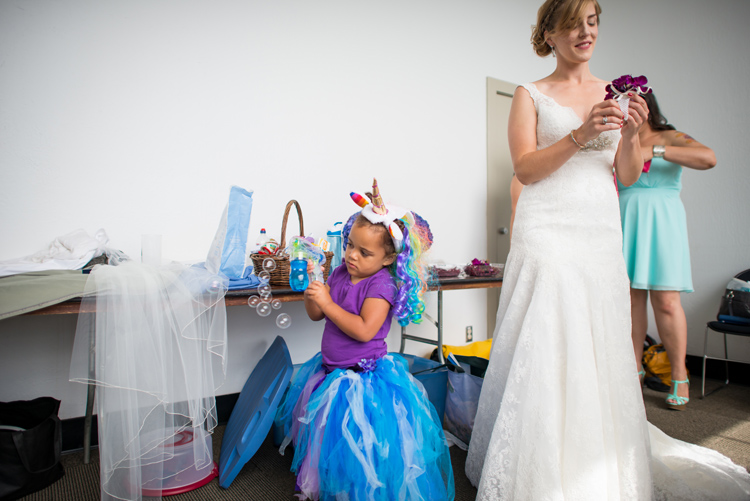
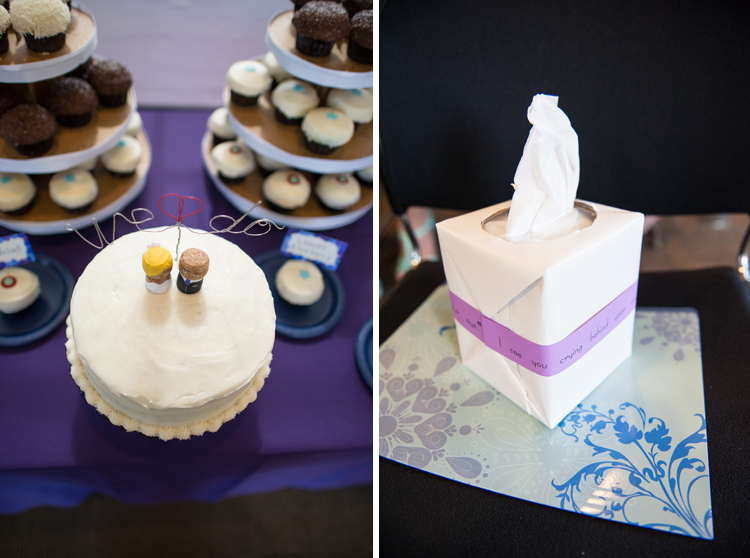
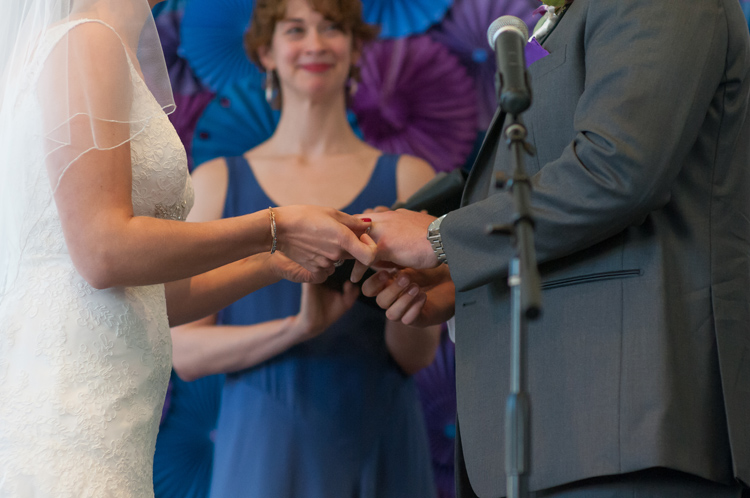
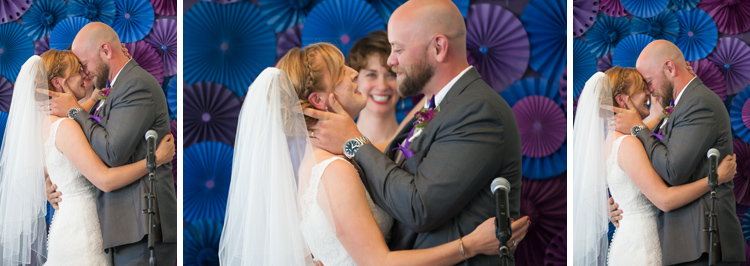
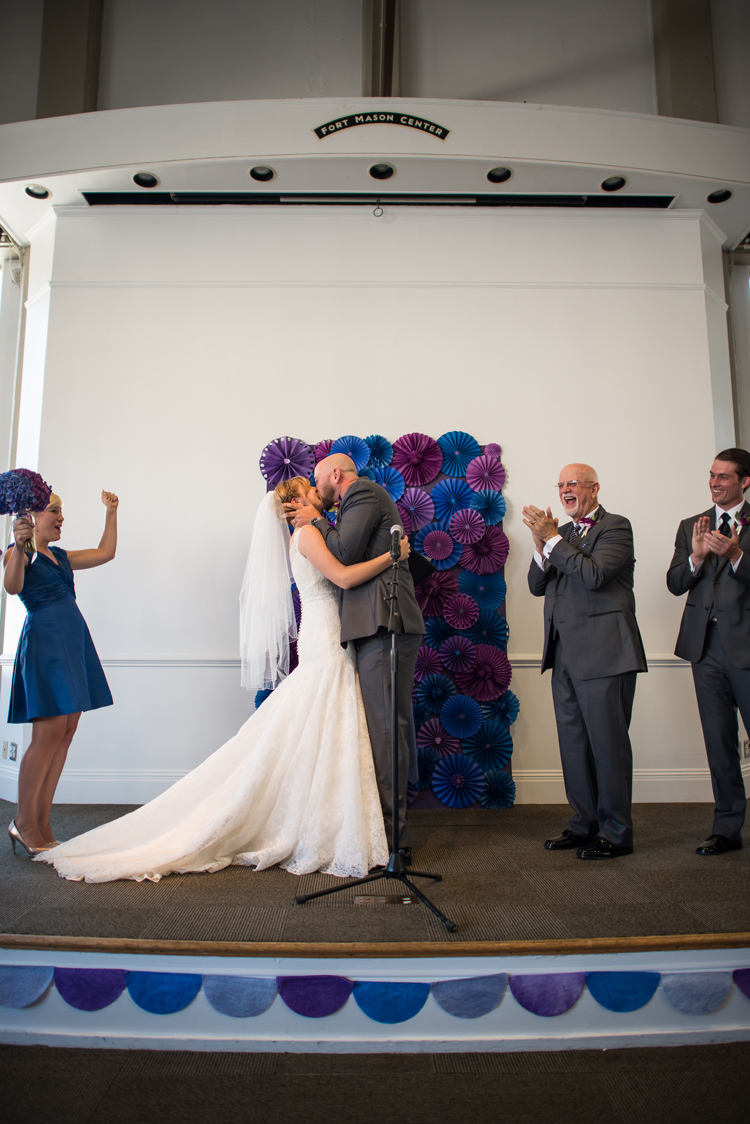
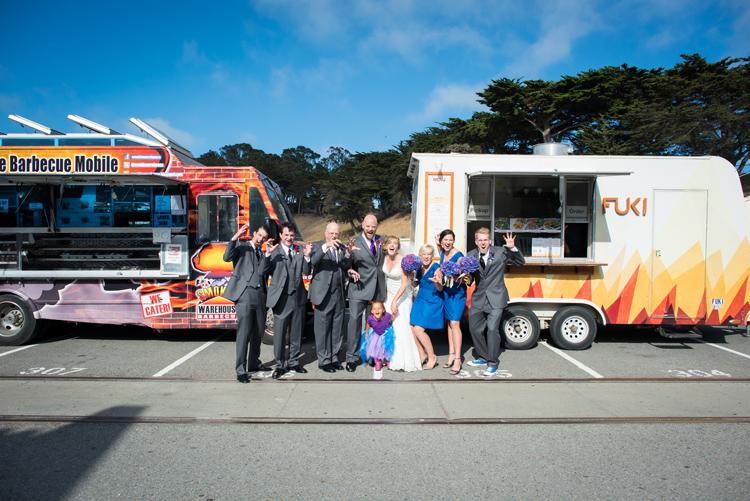
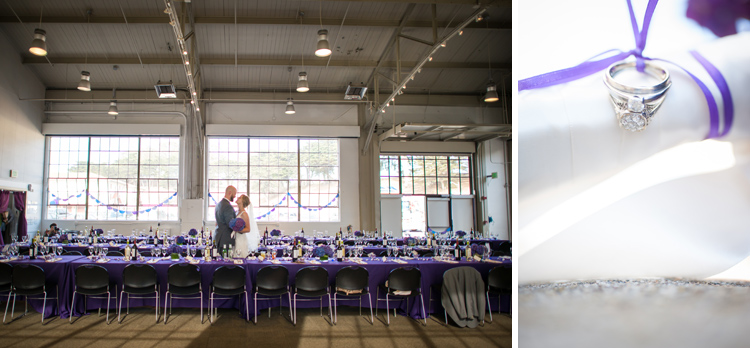
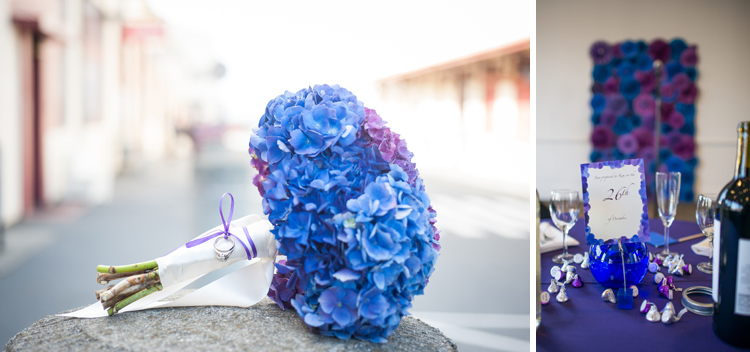
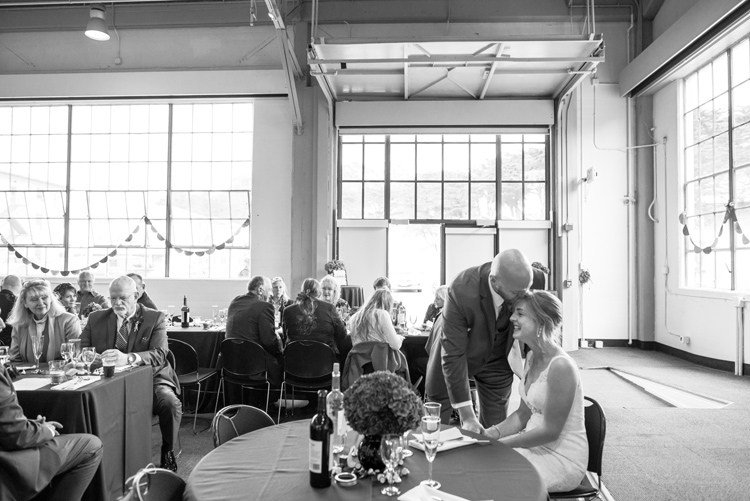
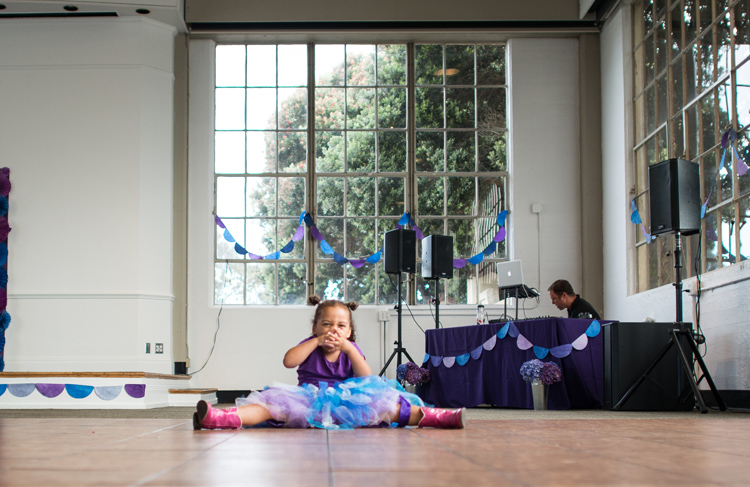
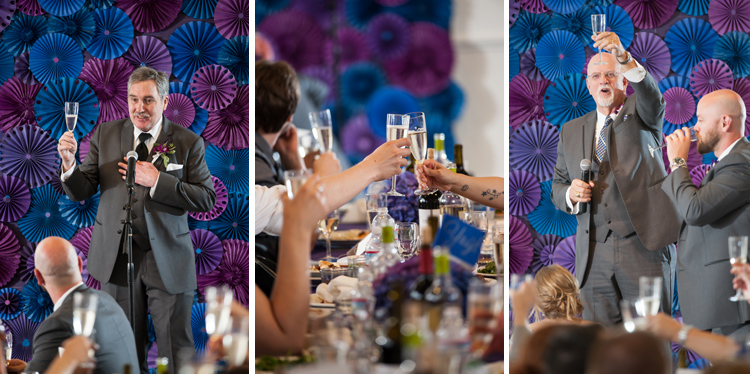
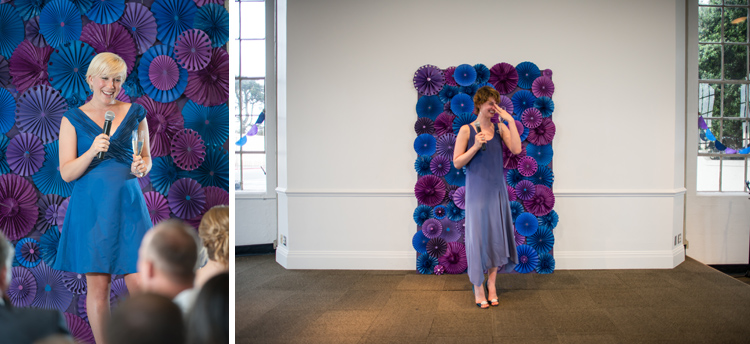
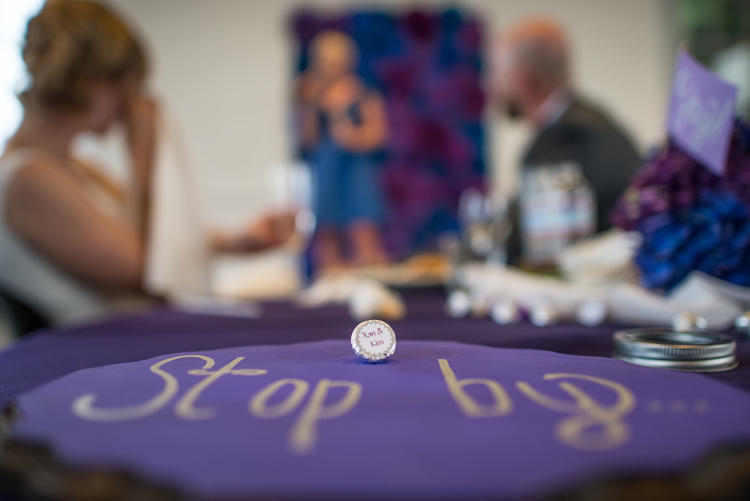
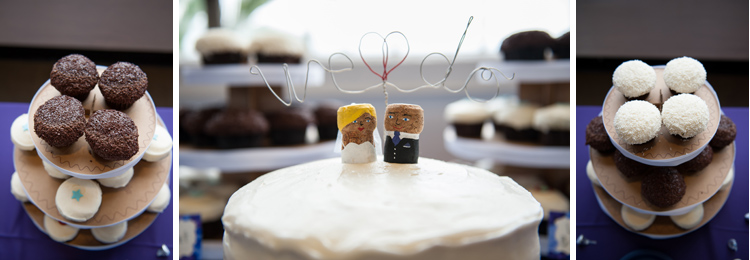
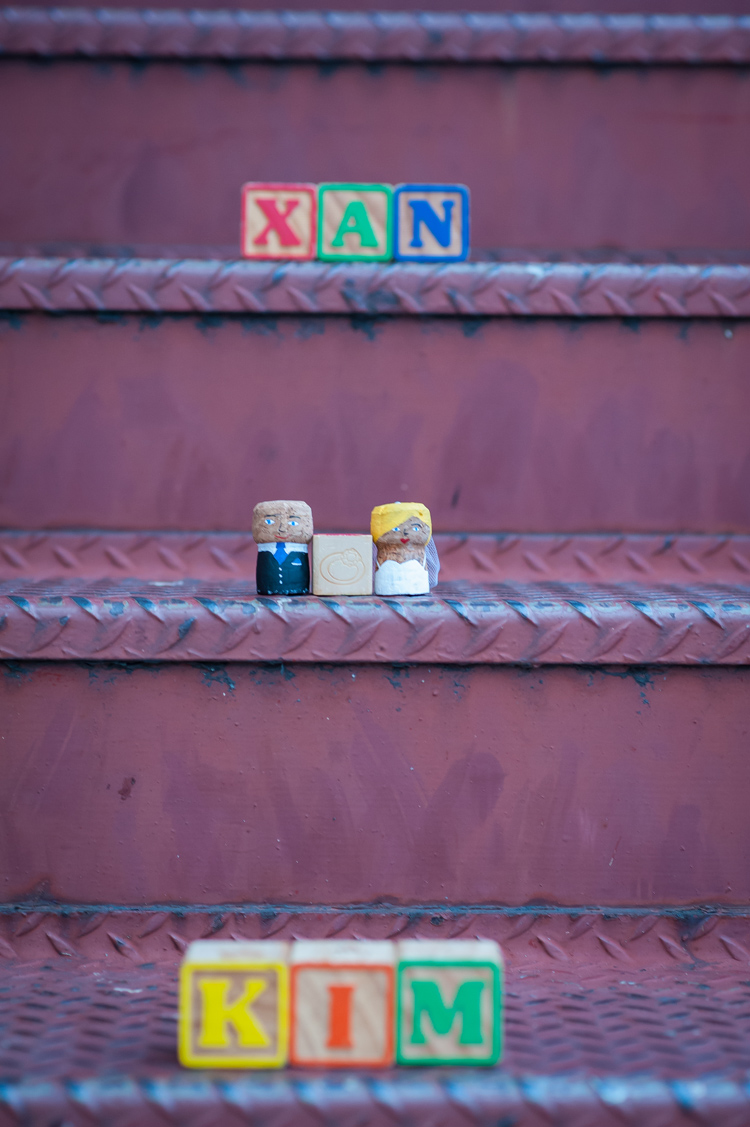
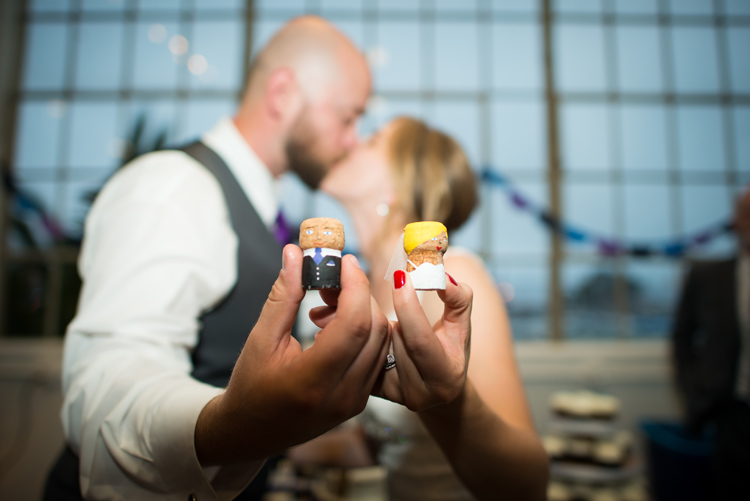
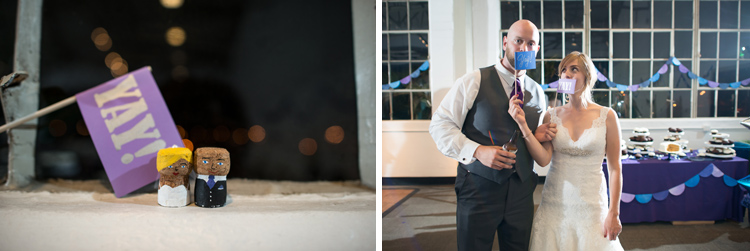
One would naturally assume they’d have an epic wedding to celebrate their epic love, and I’m thrilled to report that they did just that. The whole thing was filled with personal touches that made it oh so them: DIY projects like the vibrant alter Kim made out of pinwheels she cut and folded herself; coffee filters she dyed, strung up and had decorating the walls of their venue; fabulous “Yay” flags; candles made in Xan’s Grandfather’s memory; DELICIOUS homemade honey bourbon that included the secret recipe as a gift to their guests; and adorable cake toppers made from champagne corks by the all talented Laura Beam. Their friends and family put countless hours into making this wedding spectacular. And let’s not forget the food trucks people. I mean, come on… that is a fantastic way to feed your happy and hungry party, because let’s be honest; who doesn’t love a good food truck?
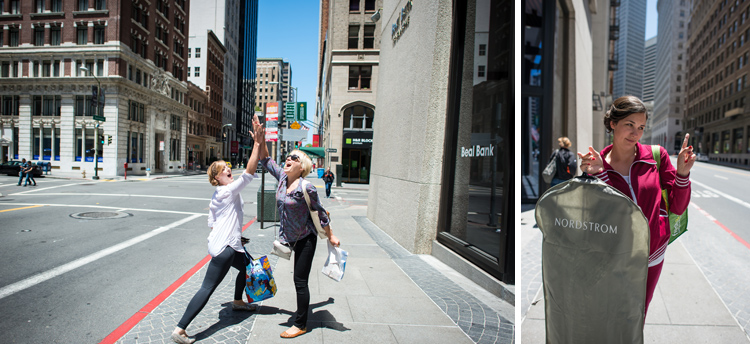
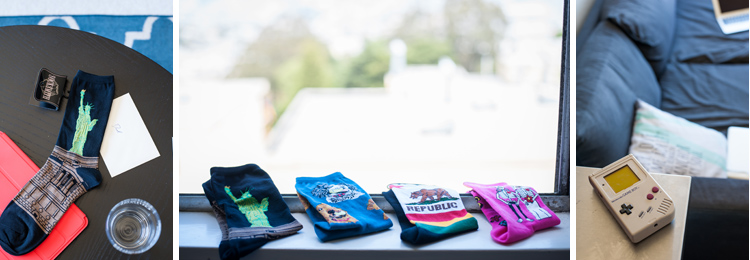
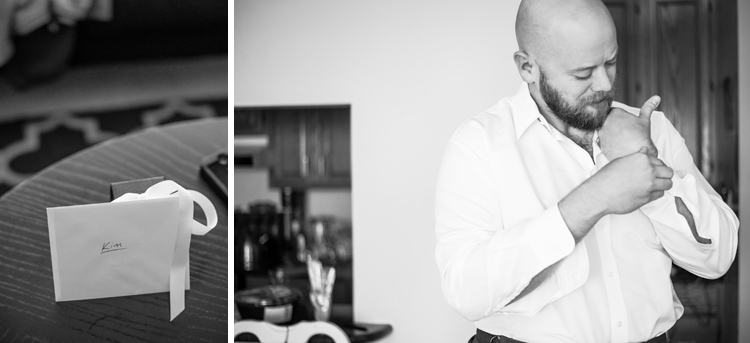
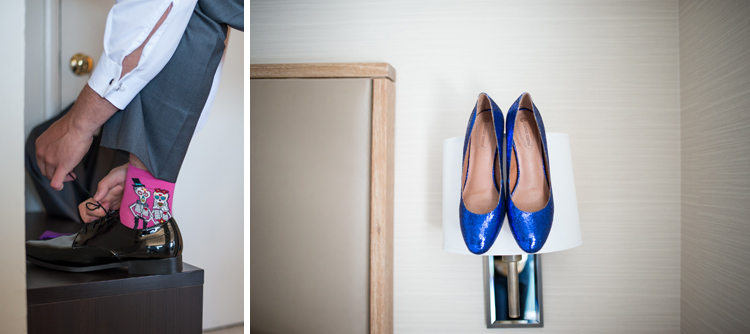
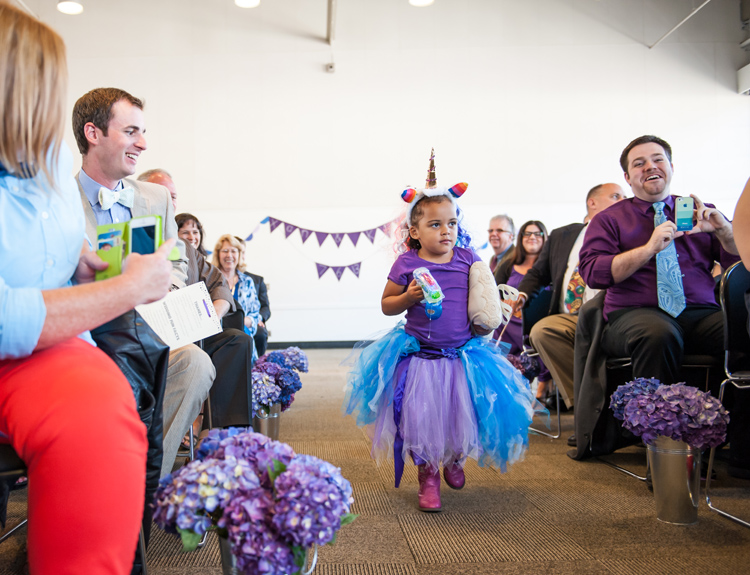
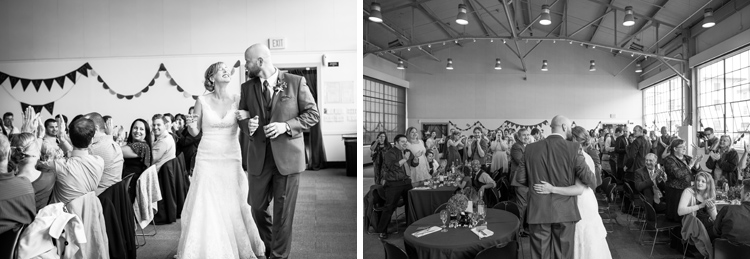
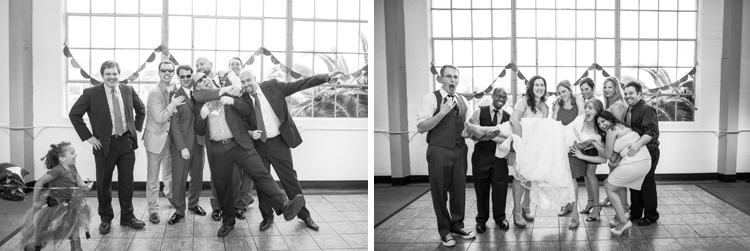
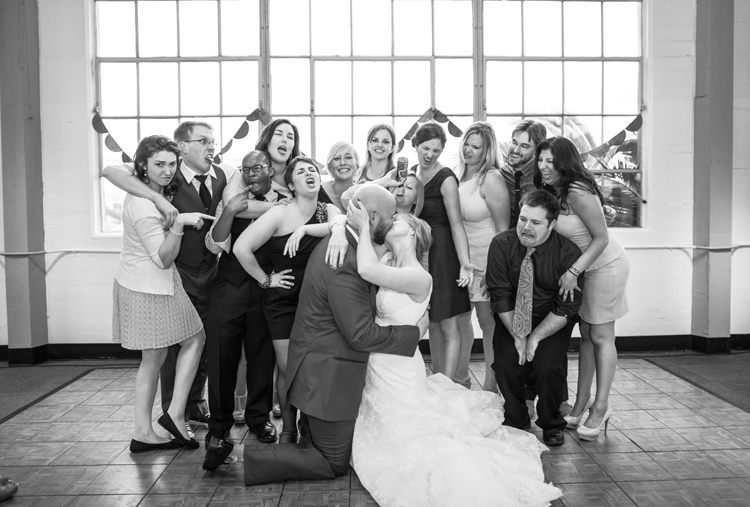
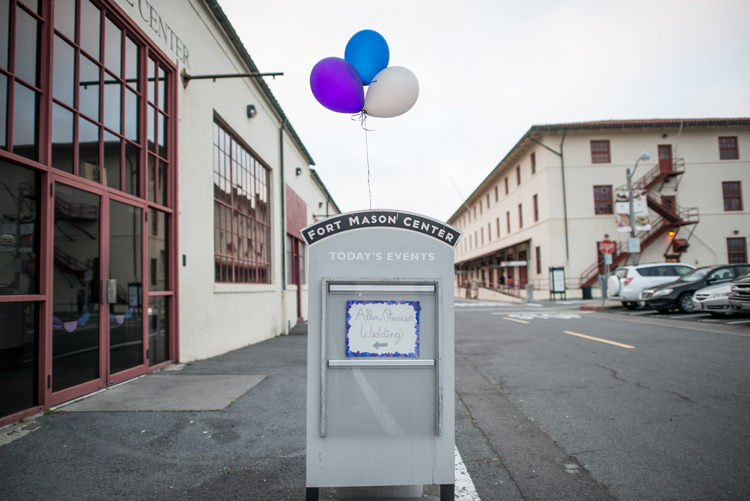
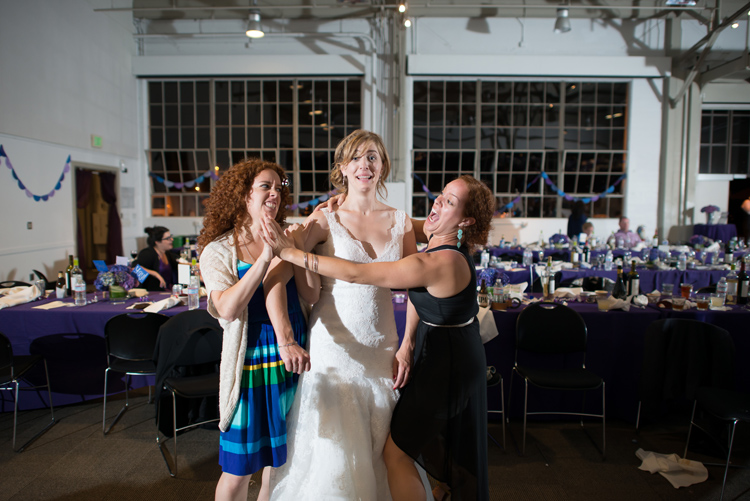
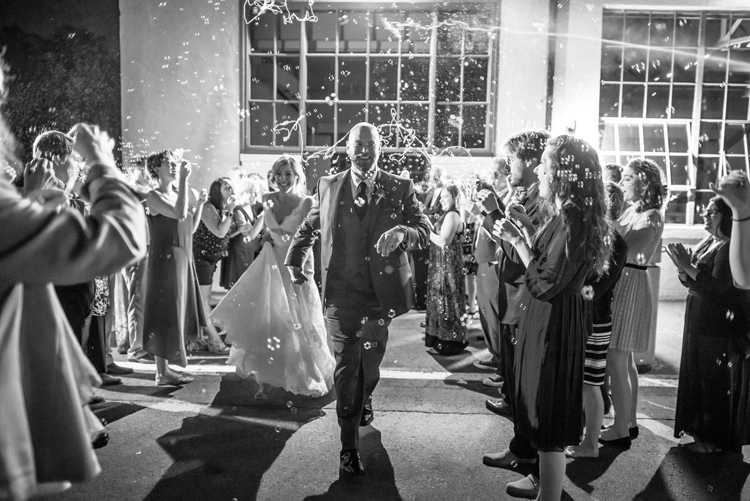
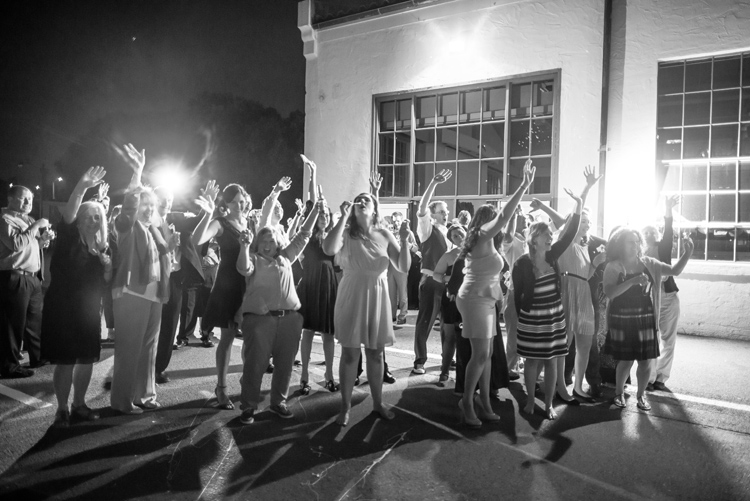
There are so many moments from their wedding that I will always remember and that made me laugh, cry and feel the love, but I will leave most of them for you to discover or re-discover in the images below. The few that I have to mention are:
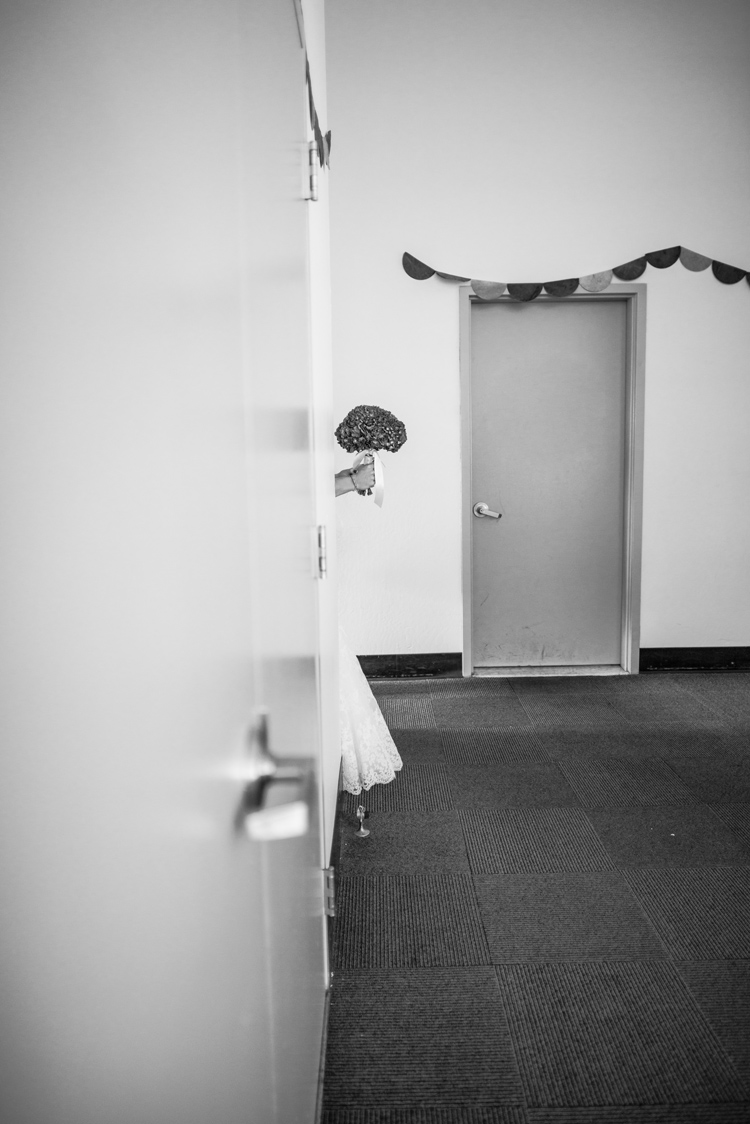
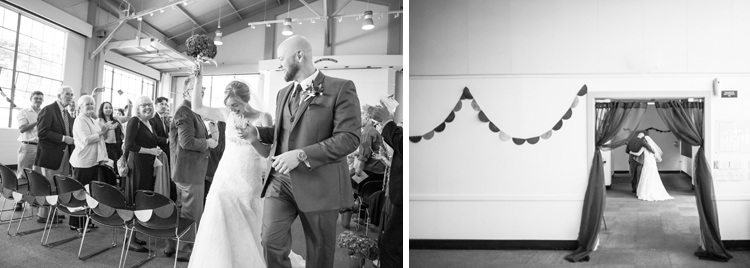
–When they did their first “not” look before the ceremony: they were very cautious not to see one another and we were all on patrol to make sure that was the case, but we set them up in a door way with their backs to each other so they could only hold hands and hear each other’s voices. There wasn’t a dry eye in the house. I watched them comfort and support each other with a few simple words and a few squeezes of hands. And Xan, being the Southern gentleman he is, said farewell with a kiss on his lady’s hand.
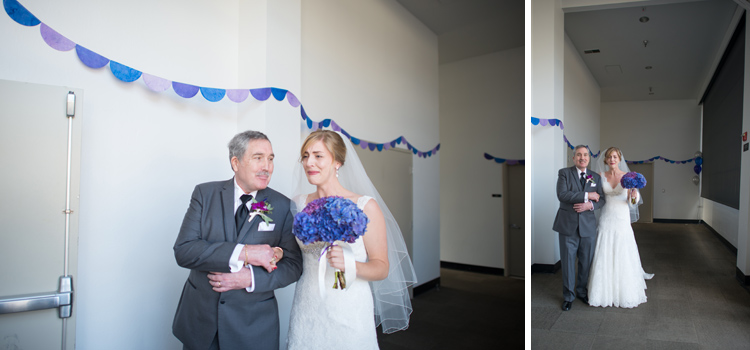
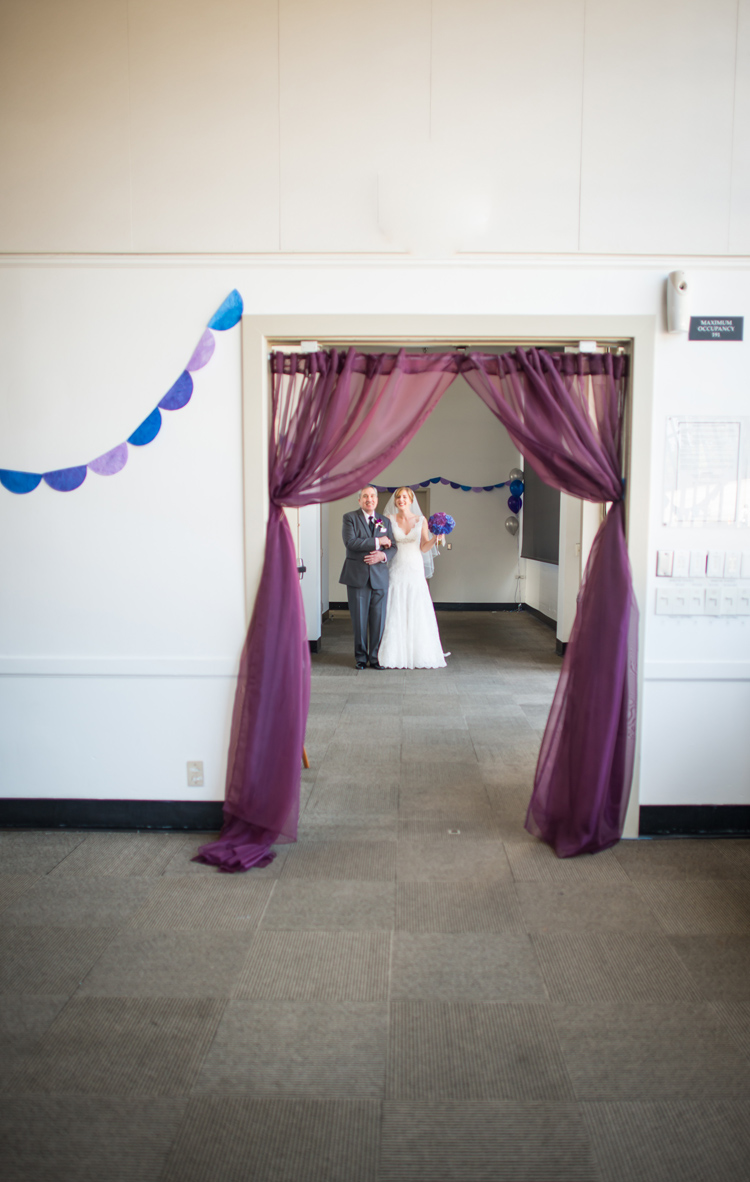
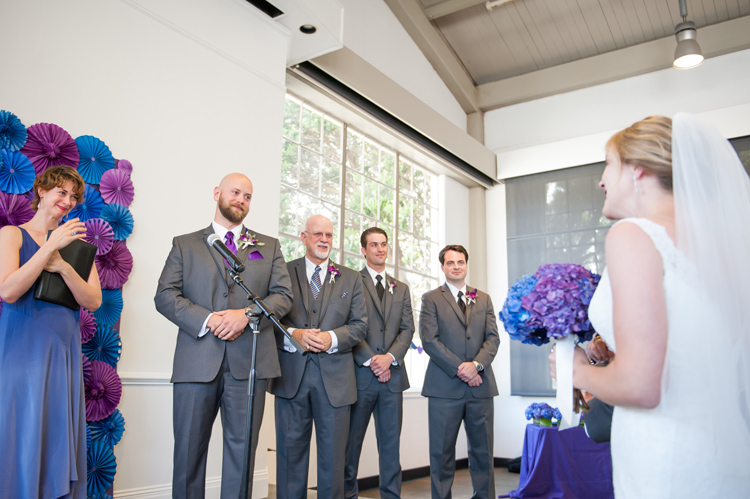
–The ceremony itself: Geez… I was tearing up before the music even started, then I looked at Kim who had tears streaming down her face and I lost it! After the procession it was finally just her and her daddy left to walk out into the main room, down the aisle, and into the arms of the man she will love forever. As she entered the room (I can only imagine this but I’m fairly sure), everything faded away and all she could see was him and all he could see was her. In a perfect moment, she mouthed “I love you” to him and he did the same to her. Through tears of joy, all the way down the aisle, they promised their love to one another. Xan, being the gentleman he is, almost made a big boo-boo by reaching down to kiss Kim when she made it to him at the alter…long before the “you may now kiss the bride” line. But never fear, he caught himself and managed to find the patience to wait to kiss his bride until he was told to (and a million more times since then, I’m sure).
Xan and Kim, thank you from the bottom of my heart for allowing me to share this beautiful day with you guys! Congrats on the puppy (let’s schedule a photo session for him soon!), and I can’t wait to see you both, drink more wine, and catch up 
xo,


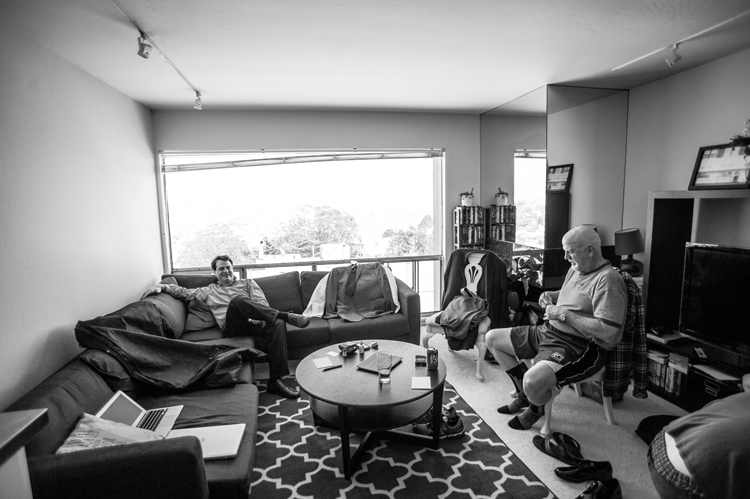

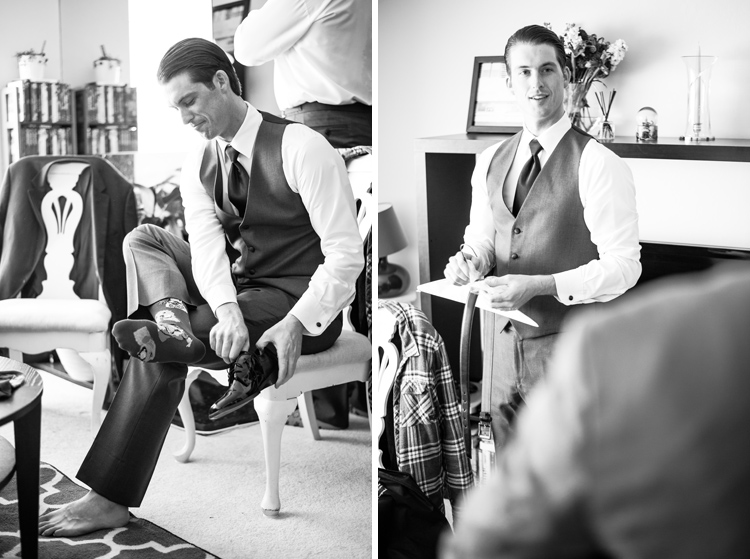
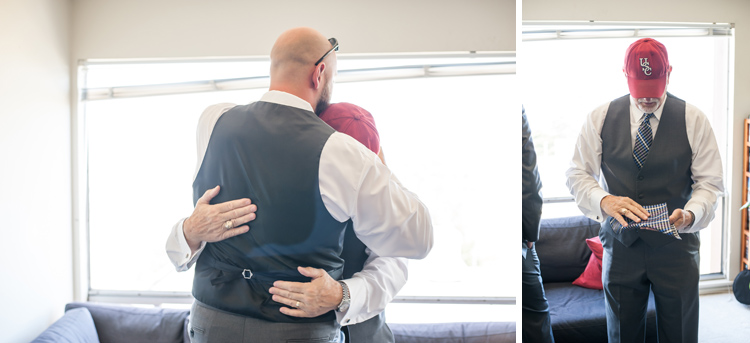




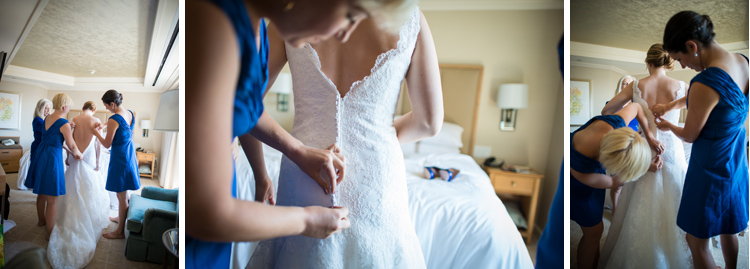

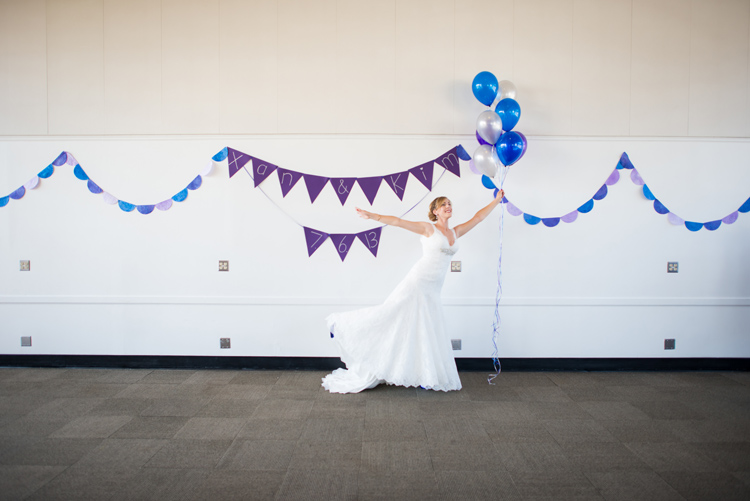






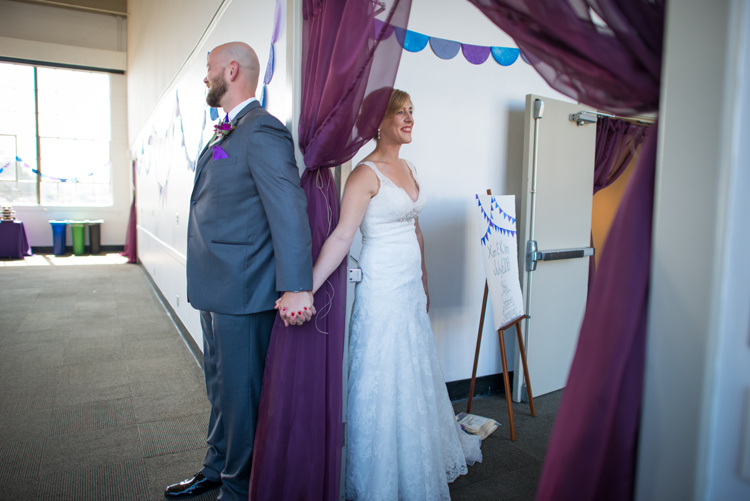

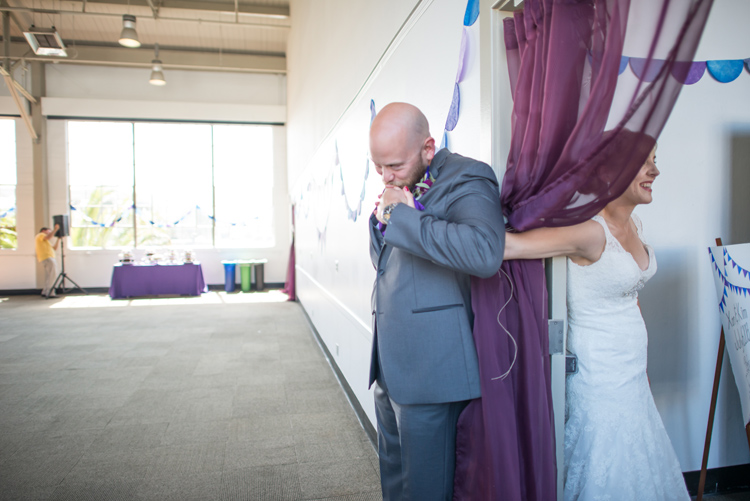

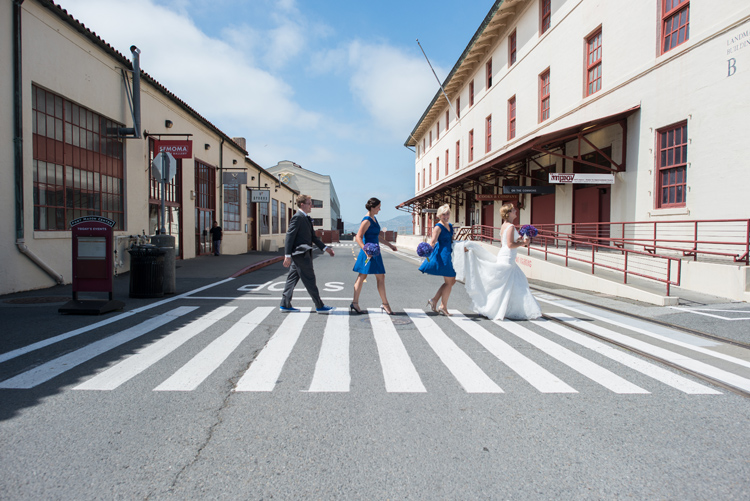








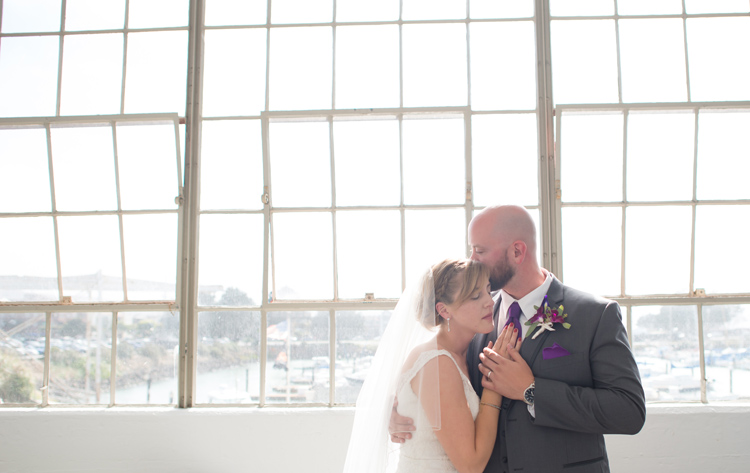
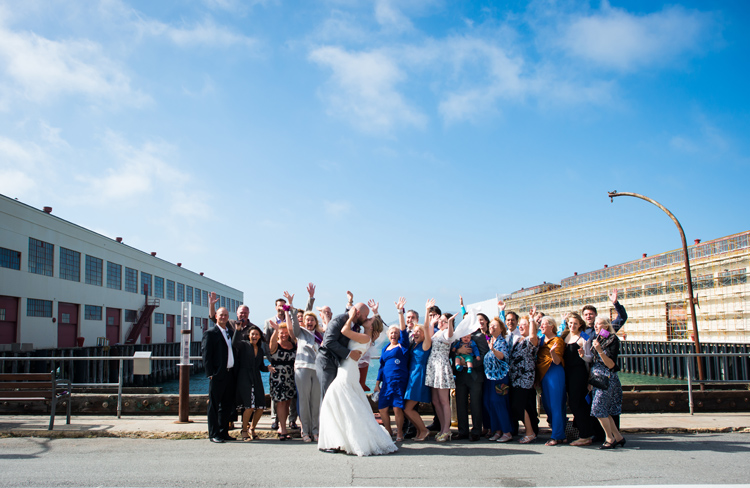
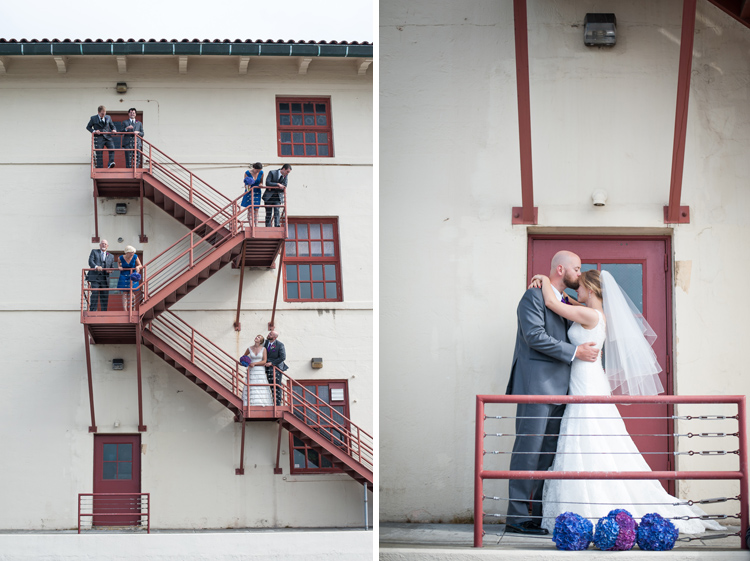
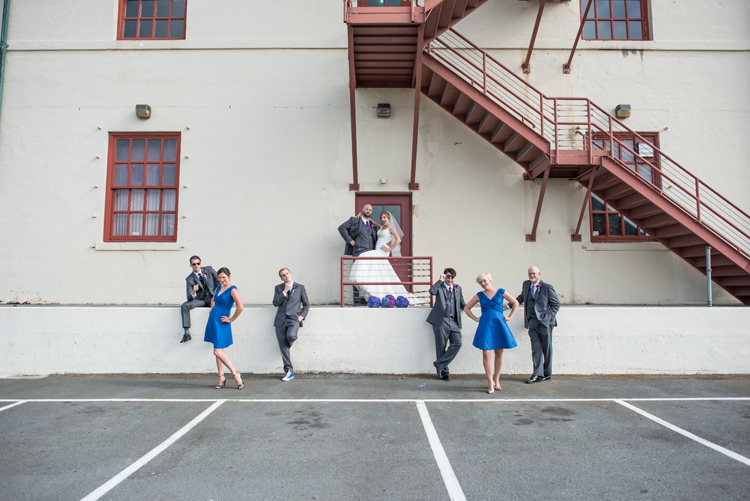

















- Thank you to my amazing second shooter Matt Gillooey!!!
- Coordinator: Laura Beam | Their fabulously amazing friend
- Venue: Fort Mason | rebecca@fortmason.org
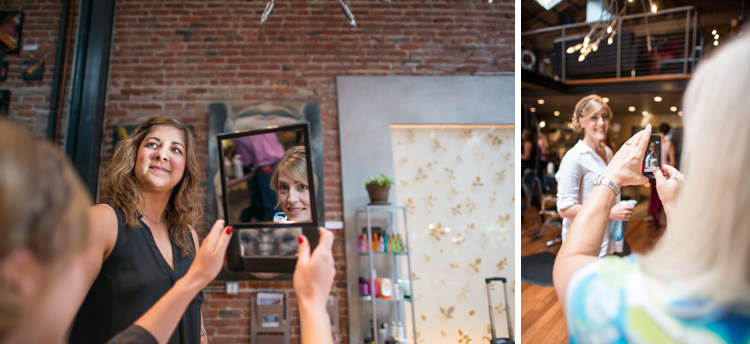
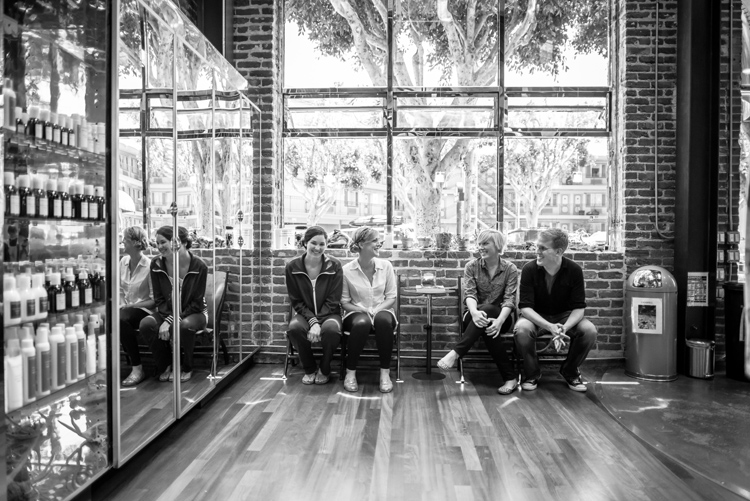
- Make-up & Hair: Oxenrose Salon | 415.212.9723
- Florist: Florist: Petals | annette@handfulofpetals.com
- DJ: Sean Evans | sean.evans@gmail.com
- Food Trucks!!! Soma Streatfood Park | josh@somastreatfoodpark.com
- DIY & amazing friends & family who helped make it all happen!
Succulents are the latest and greatest craze these days and living in a San Francisco apartment without a deck or backyard I’ve had to get my fill of gardening in a new urban way… indoor gardens! Succulents are adorable and come in a wide variety of colors, shapes, sizes, and cutenesses. The other thing I love about them is that they are durable, which is important for busy people like me (I know they aren’t going to die if I forget to water them for a couple days). They grow and split off and re-roote very easily, so the few that I purchased at my local flower shop (Sloat Garden Center on 3rd Ave) have been able to produce multiple new gardens.
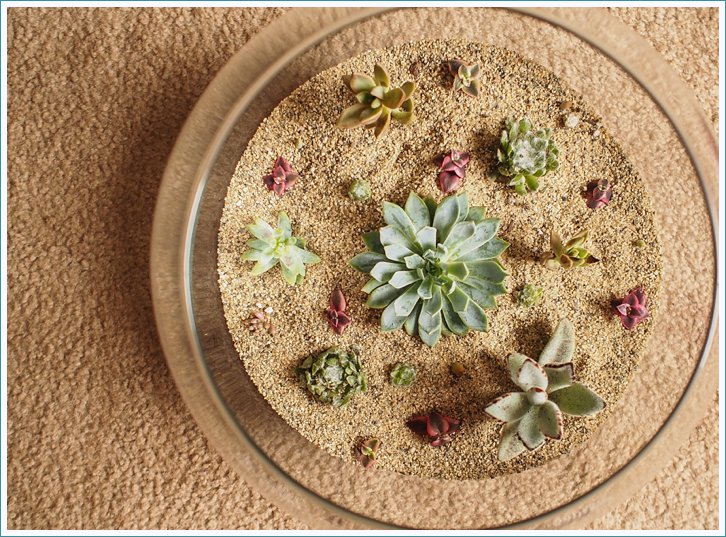
Here’s a pic of the one I made for our kitchen table!

Today I’m going to explain the steps needed to plant your very own indoor, adorable, durable succulent garden. Make one for yourself, make one for a friend, or make lots of little ones as favors for your upcoming wedding or party!
What you’ll need:
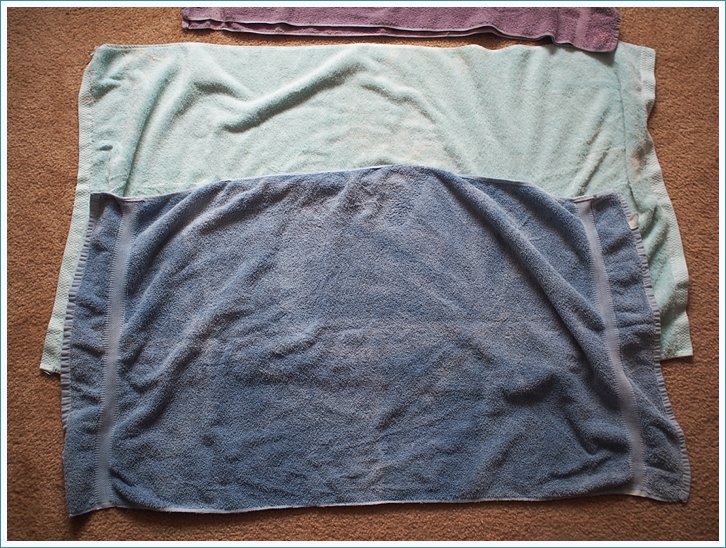
-An old sheet or a few towels
-What you want to plant your garden in… GET CREATIVE!!!
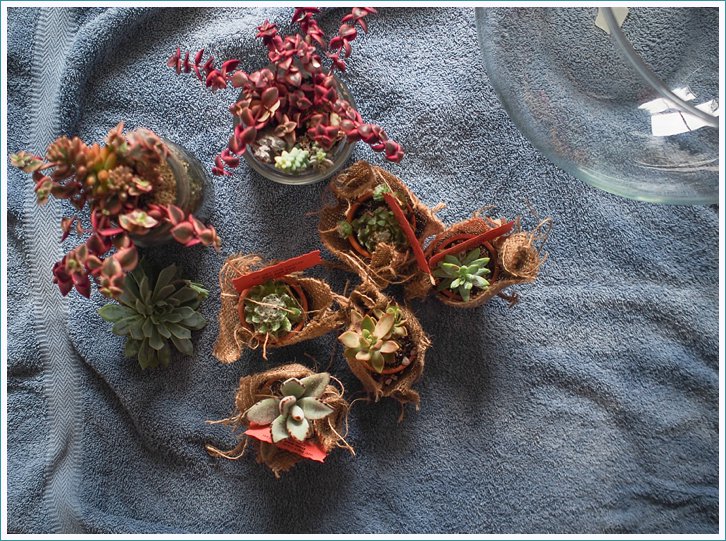
-Your succulents 
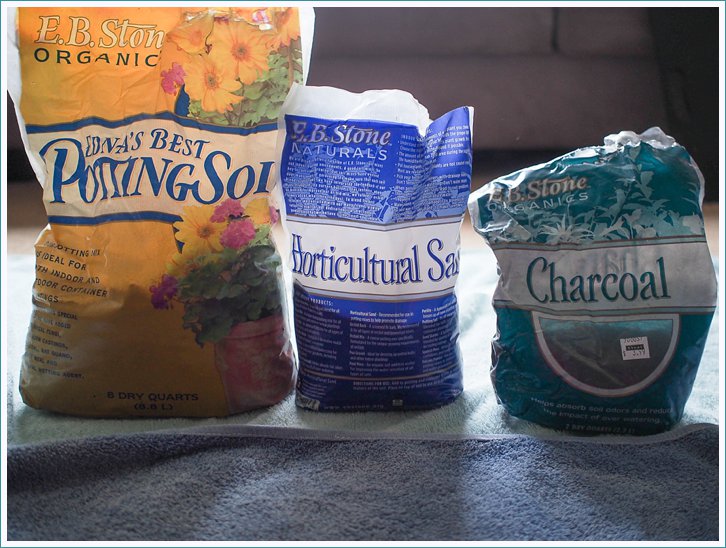
-Potting soil, I used E.B. Stone Organic but for no other reason then the garden center by my house suggested it
-Horticultural sand (do NOT use sand from the beach!), I used E.B Stone Organics again
-Charcoal, when you plant things without drainage at the bottom you need to use charcoal to absorb the stagnant water that drains to the bottom of your planter/vase etc.
-About an hour to get it all done!
Step 1: Lay something down on the ground you don’t mind getting dirty (because it will) and give yourself enough room to spread out.
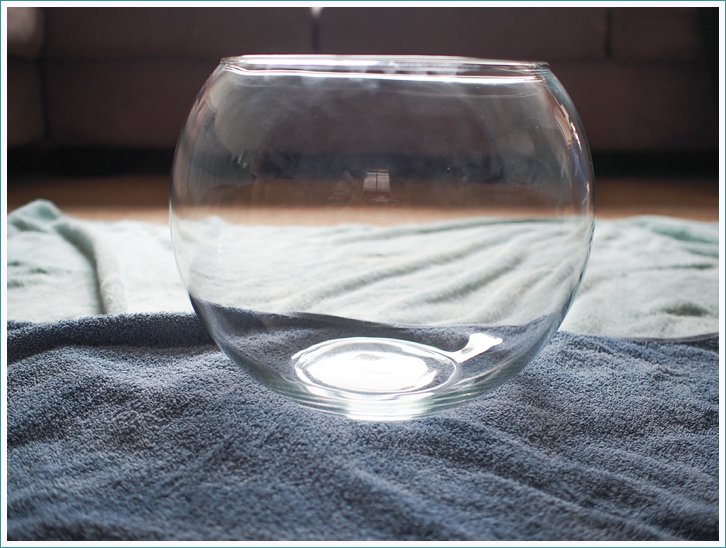
Step 2: Clean the vase, bowl, dish etc that you will be using for pretty project.
Step 3: Gather the succulents you plan to use in your new garden.
Step 4: Your soils… the charcoal, potting soil and horticultural sand. Remember: DO NOT use sand from the beach because it has too many micro organisms and other things that can affect your garden.
Step 5: Pour charcoal in your desired planter/vase first, enough to cover the base, about half an inch.
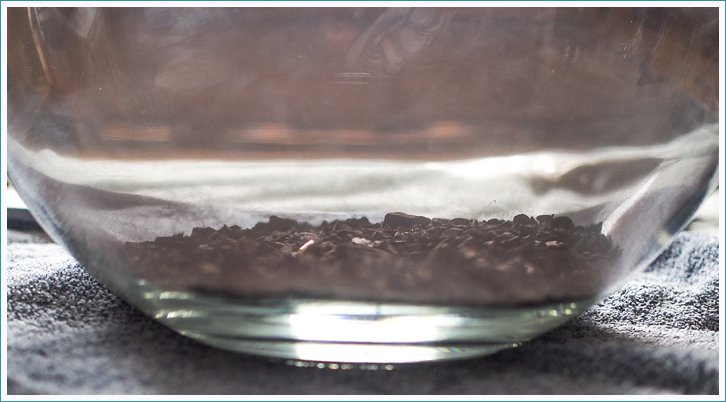
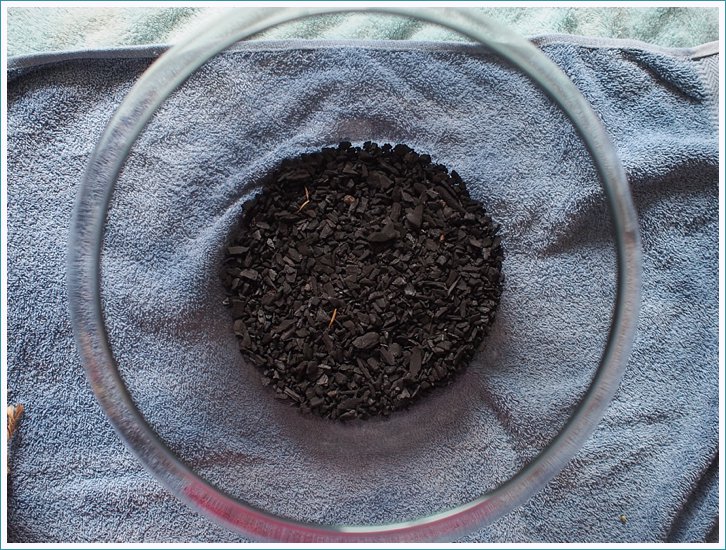
Step 6: This step isn’t necessary, but my mom is the flower queen and she introduced me to earth worm castings (sounds gross right?!?), but I was able to find it online and it makes an amazing natural/organic plant food so I mix it with my soil!
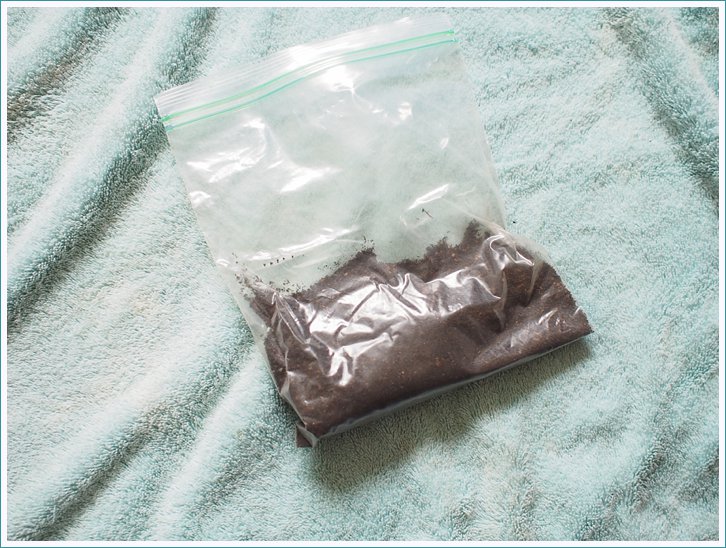
Step 7: Pour your soil (and a couple table spoons of earth worm castings if you want) on top of the charcoal. You’re shooting for layers so keep that in mind, the dirt layer can be an inch+ thick. Pat it down and smooth it out.
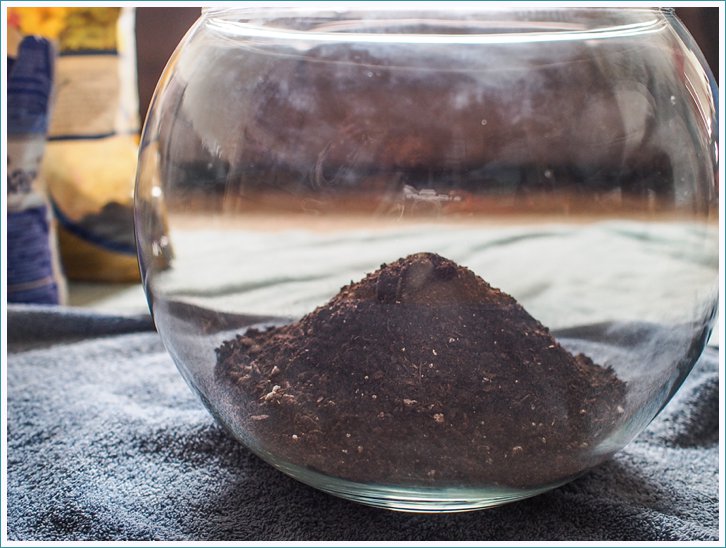
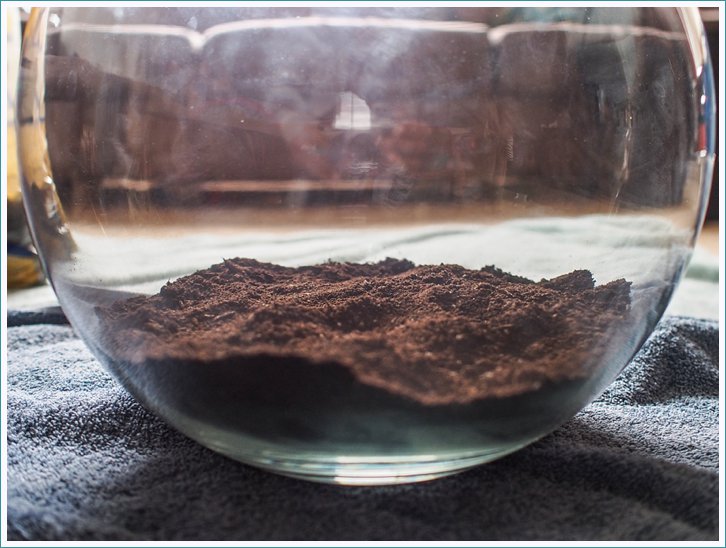
Step 8: Now it’s time for the pretty layer, the sand. Carefully pour the sand on top of the dirt (remember layers!). I suggest at least an inch of sand (I’ve gone too light on the sand before and found that the dirt creeps through). Aside from being pretty, the sand helps distribute the water and weigh down the soil so it doesn’t move around when you water it.
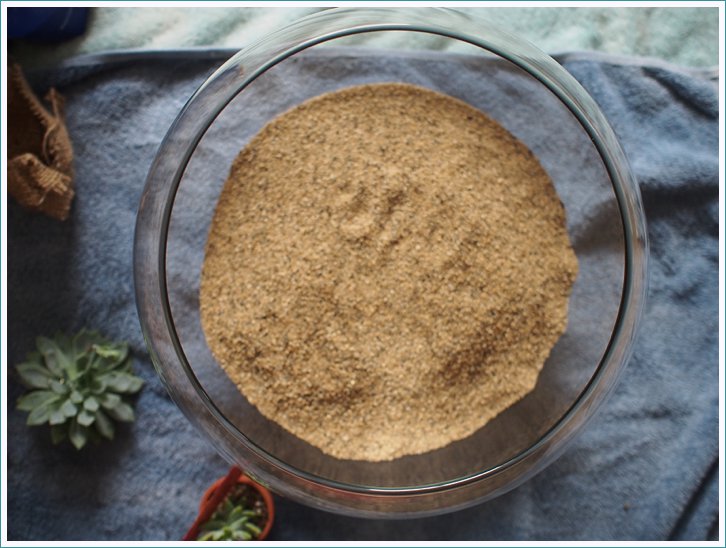
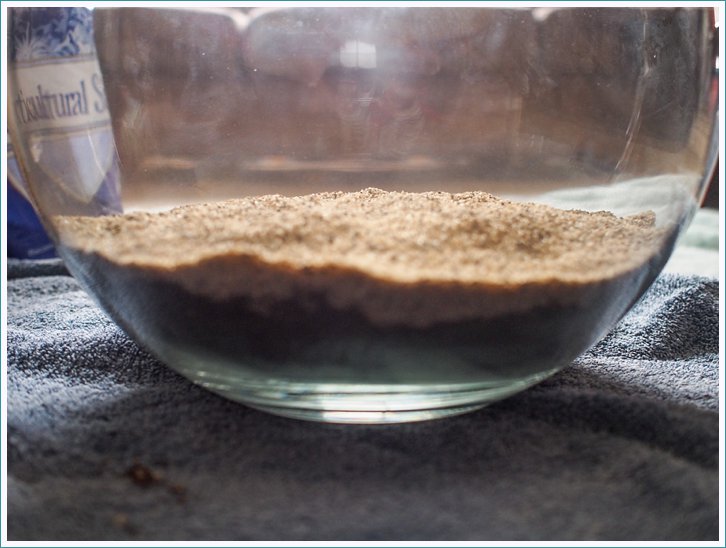
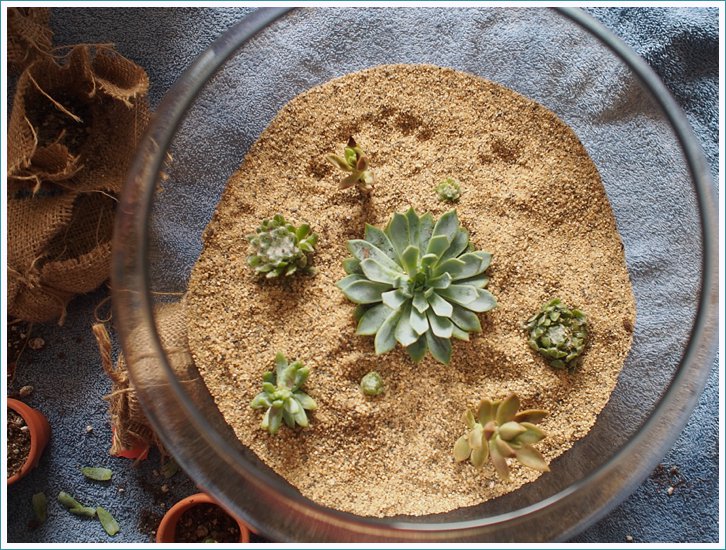
Step 9: Yay! You made it to the really fun part… planting your garden! I always like to have a centerpiece, so I chose this sturdy, round guy.
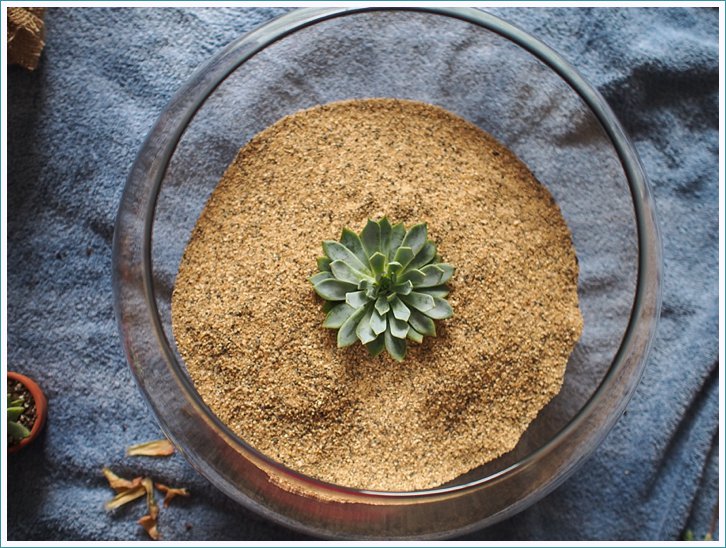
Step 10: Then you can begin placing your little biddies where you want. I like to start small and fairly spaced out because they grow fast!
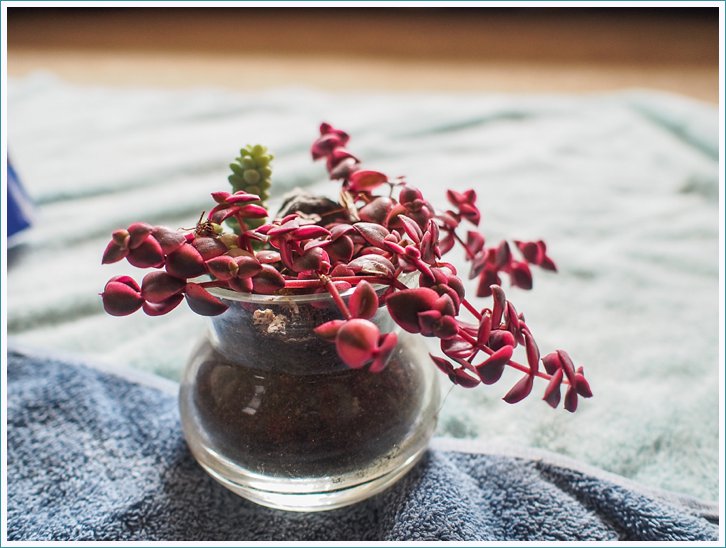
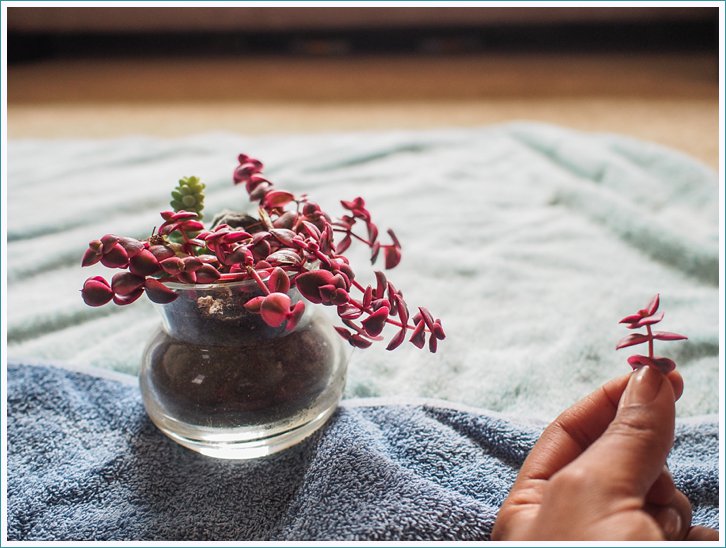
Step 11: As I mentioned earlier, I take my other succulents that have alot of growth and break pieces off and re-plant them in my new gardens… see!
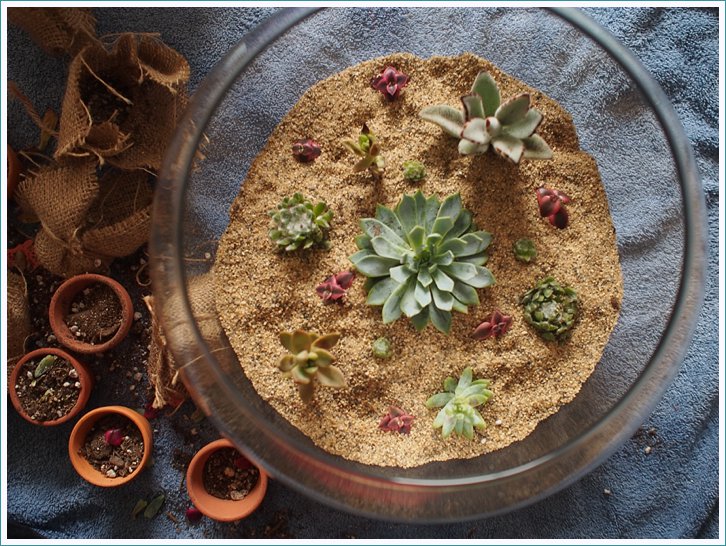
Step 12: Stand back and revel in the fruits of your labor! This was a gift for our friend Dominic as a thank you for giving me a beautiful desk for my office and he is enjoying it everyday!
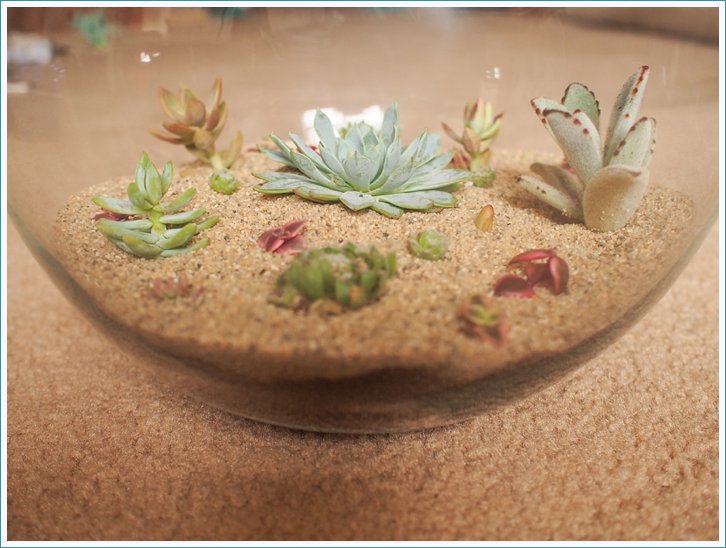
Watering: I water my succulents every week and half or so, but watch and listen to them, they will tell you what they need, so pay attention!
**All these images were shot with my amazing OM-D
I’ve known Mariah for a million years… well, that number might be a little high. We’ve been friends since we were 16 and now we are both a few years older, but who’s counting? The point is she has been one of my closest, most accepting, loving, nurturing, hilarious friends for many years and I’m thrilled to be sharing her new joy on my blog and in my life.
Mariah and her boo Hedger just gave birth to their scrumptious little man, Matisse! As expected he is adorable… a perfect mix of his parents, and of course full of way more personality than most week old babies. See for yourself!
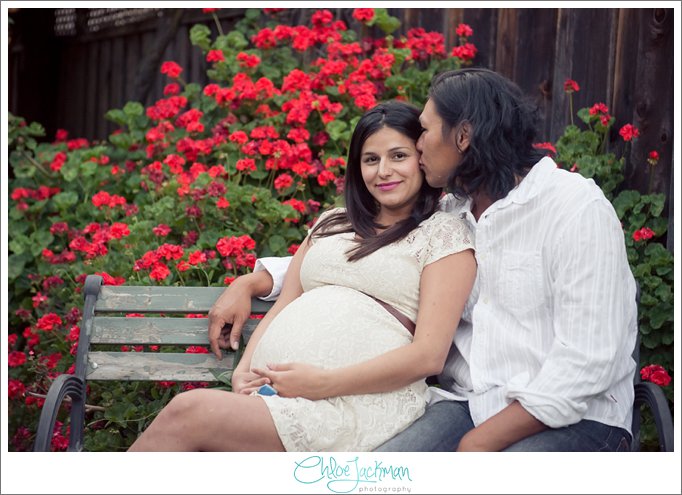
Here are a few pics from the maternity session I shot a month before Matisse blessed our crew with his presence. Love you guys and am so damned happy for you!!!!
xo,


Sweet sleepy baby…

He’s such a happy dreamer!!!


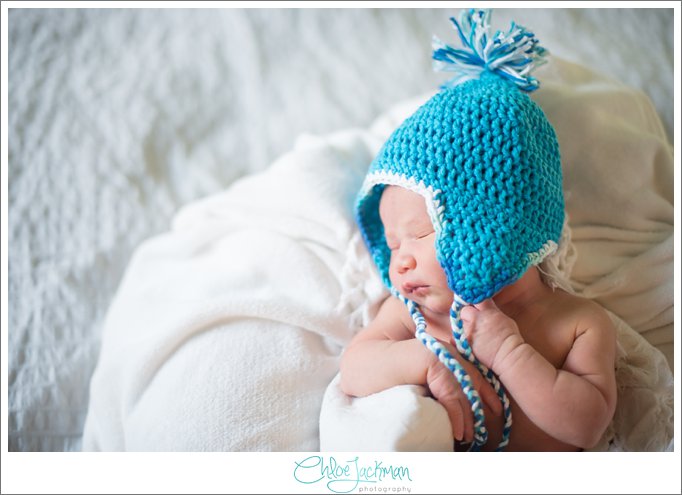
For some reason this totally reminds of a face I’d see Hedger make…thoughtful yet constipated 


 1) ) Join a wedding community such as A Practical Wedding, Wedding Chicks, Once Wed, Off Beat Bride, I Do Venues etc. Follow the blog, take part in the conversations, reach out and ask questions. It’s important to know that there is a community of people out there that know and understand what you’re going through and have fabulous advice to share!


